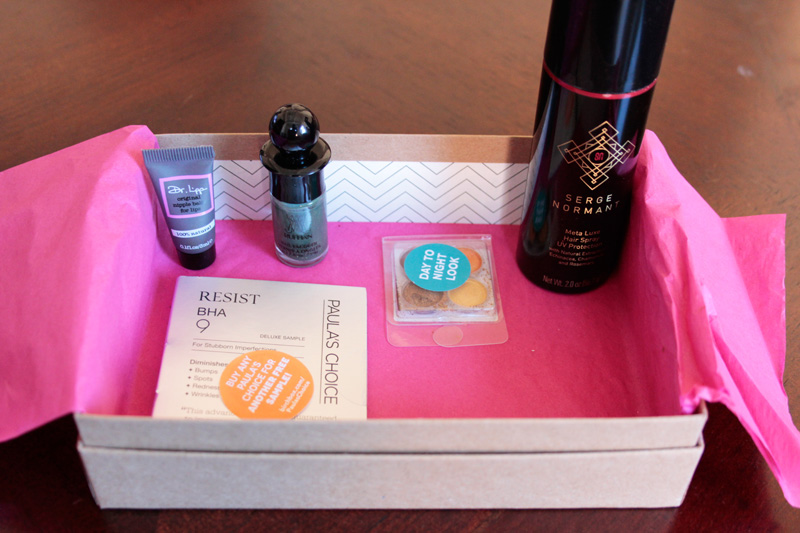
September Birchbox
So it’s the tail end of September and I’ve finally gotten around to sampling and reviewing all of the products I received in my September Birchbox. I got some great products this month! I was unfamiliar with Paula’s Choice and Coastal Scents – and you know I love discovering new brands! I was also really excited to try a new hairspray, especially Serge Normant’s, because I love his dry shampoo. This month I also wanted to try something different and include photos of how a product looked on me when I tried it in order to provide a better review. I hope this makes the reviews more useful to you!
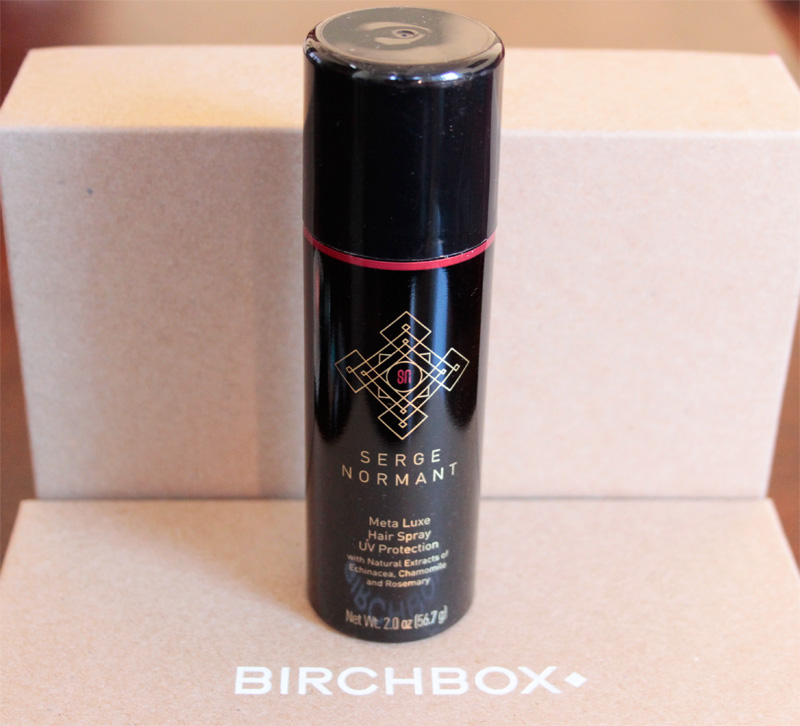
Birchbox – Serge Normant Meta Luxe Hairspray
Serge Normant Meta Luxe Hairspray: There’s two kinds of people in this world – those who use hairspray properly, and those who do not. Then, there’s hairspray like this that is almost impossible to use improperly. Part of my product test was to over-spritz my locks to see how the buildup would feel after, say, 2-3 styles. Drumroll please… there was literally no buildup. I used this in a variety of applications, from setting an updo to making my bedhead work-appropriate. I got great definition and a strong hold, but my hair remained touchable and impermeable by the San Francisco wind. Check out my photo below for the bedhead application – I used hair oil to smooth out some of the frizz and a few sprays of the Serge Normant, et voila!

September Birchbox – Ruffian Lacquer: Hedge Fund
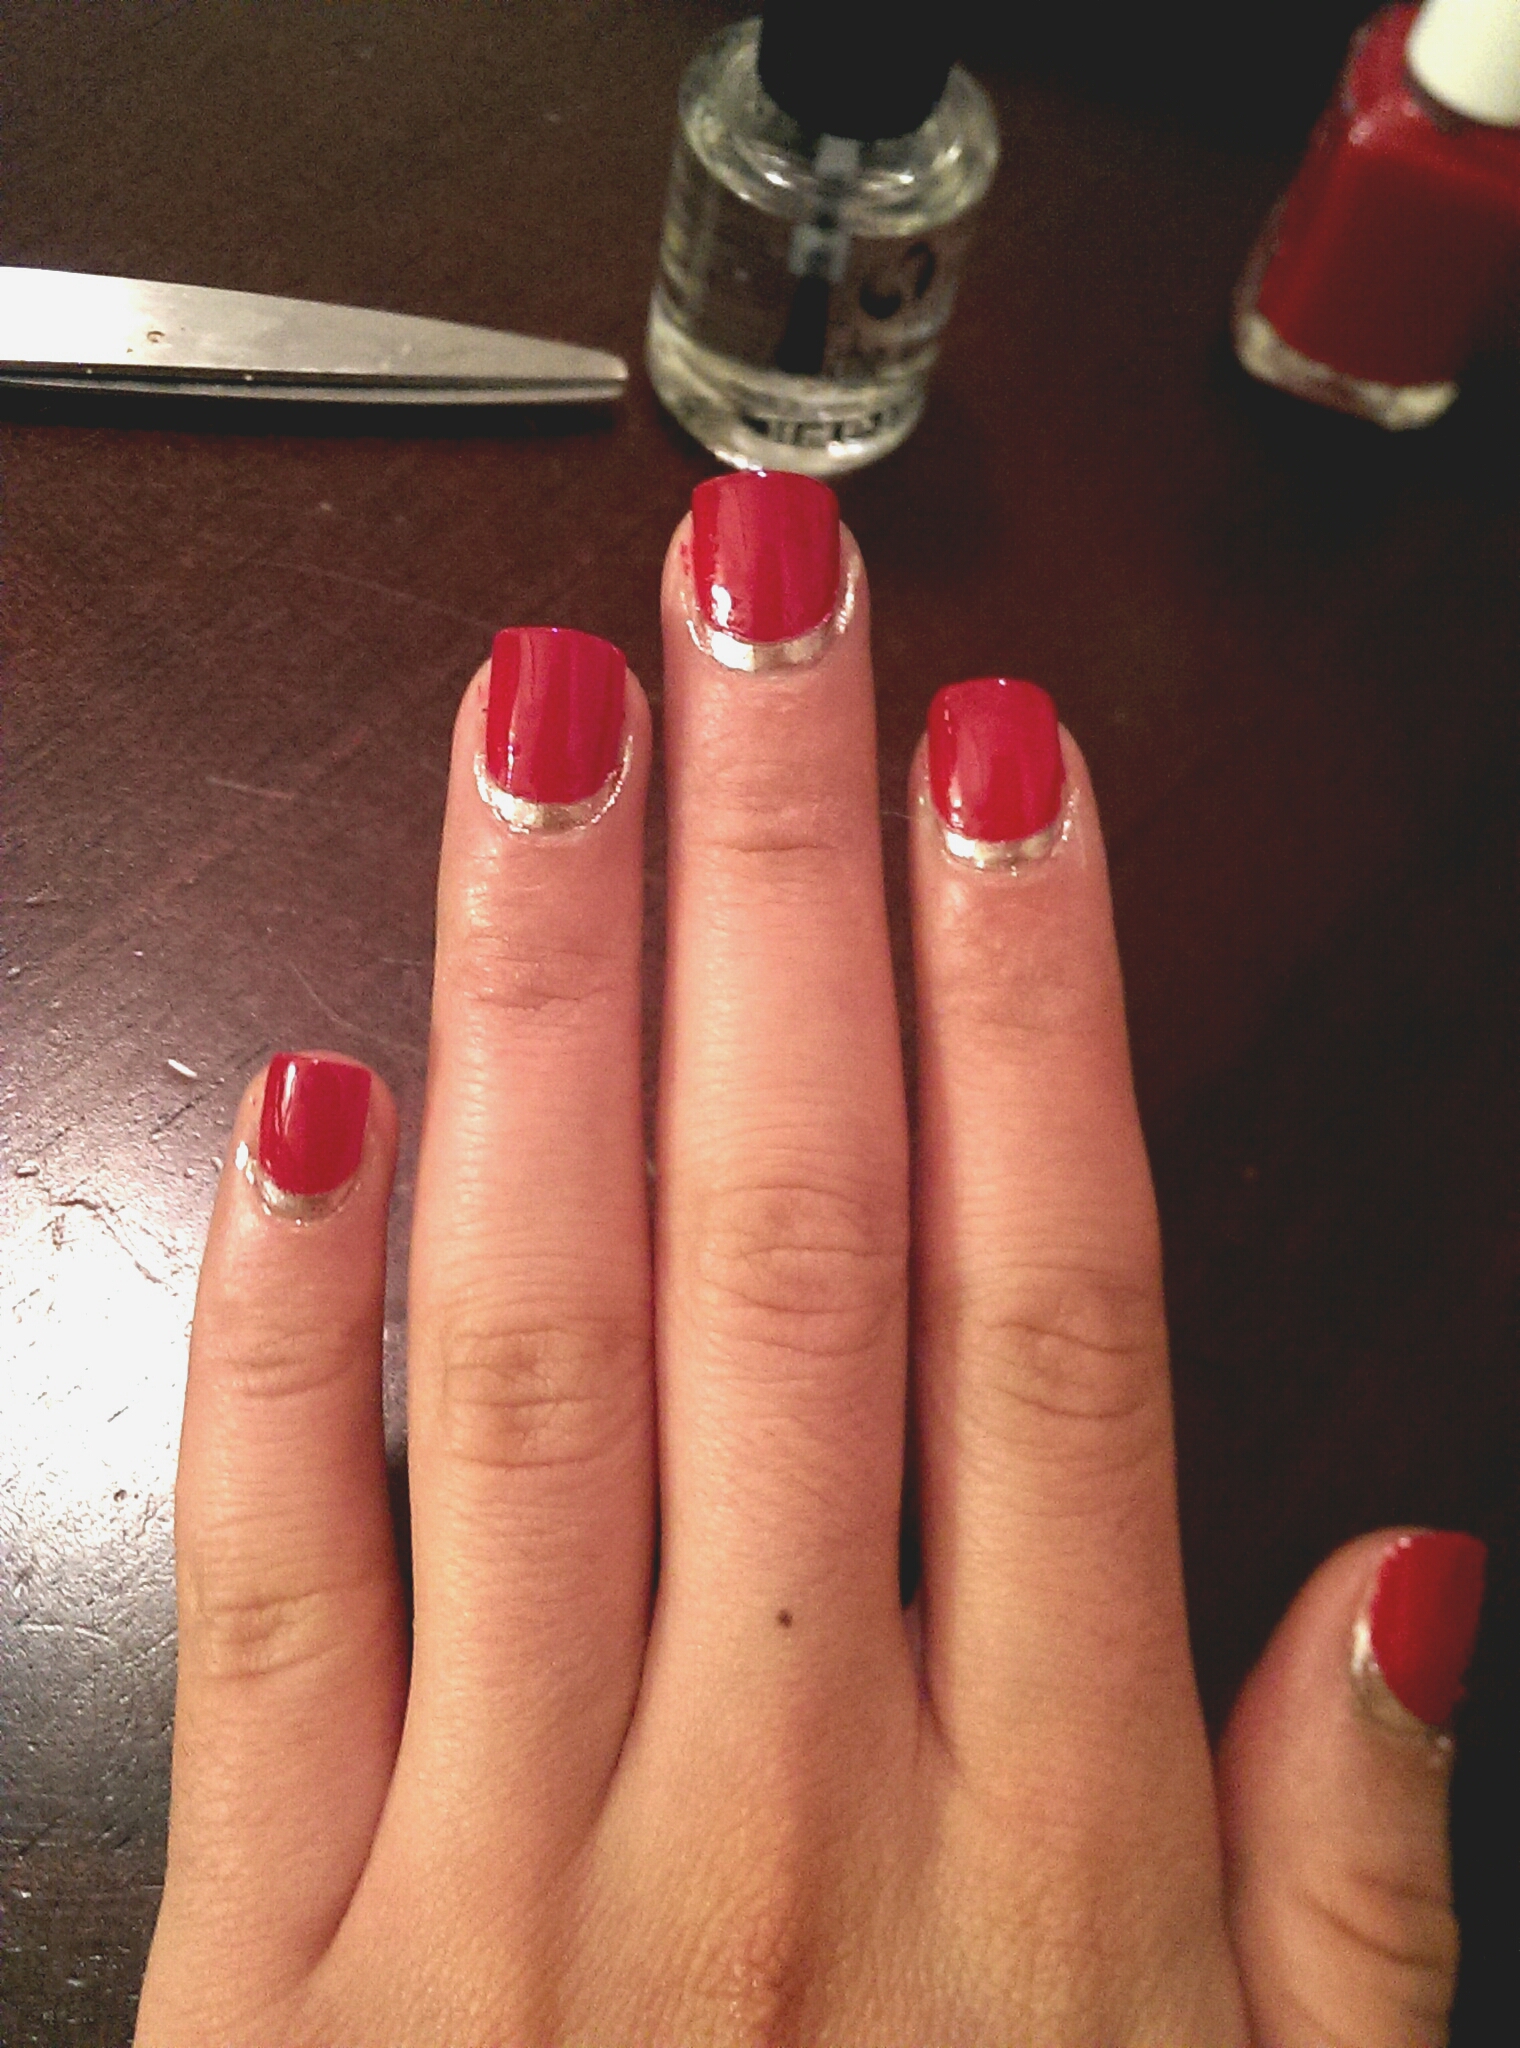
Ruffian Nail Lacquer – Hedge Fund: This lacquer is amazing. The formula is thick and pigment rich, and the bottle design makes the brush very easy to control. I needed only 2 coats to create the look below, and the lacquer set very quickly. I painted my nails before bed and did not wake up with the dreaded sheet crinkle texture on my nails.
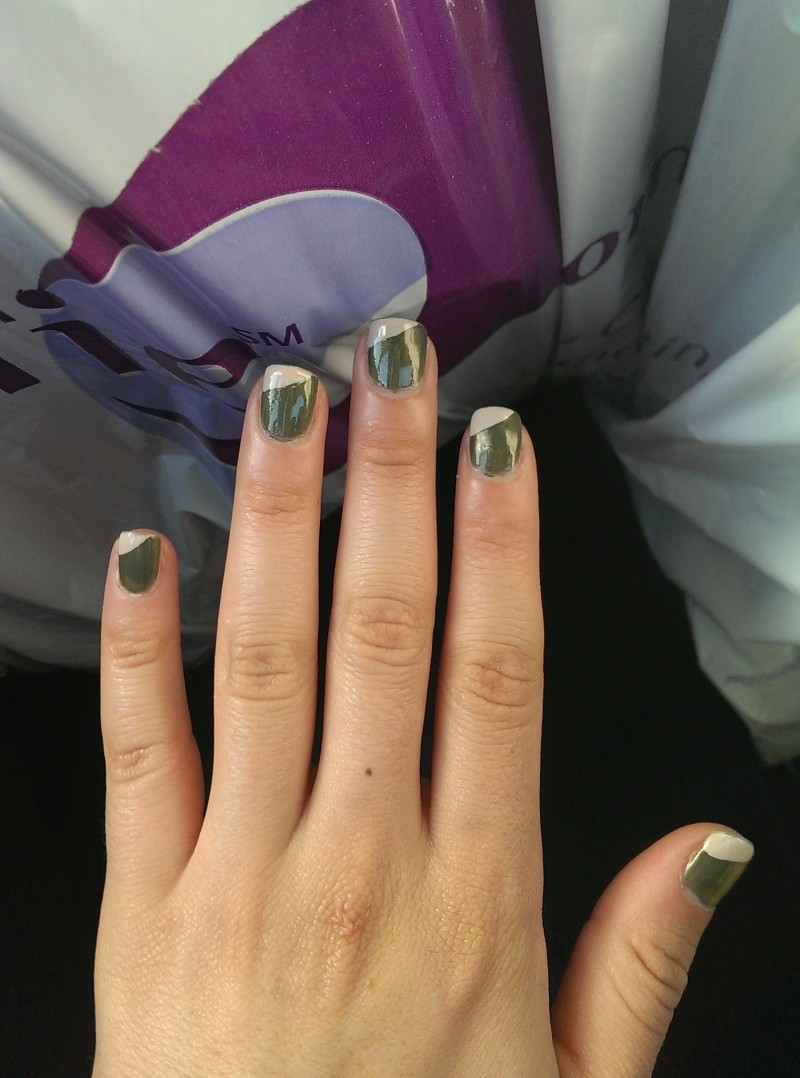
Hedge Fund Mani
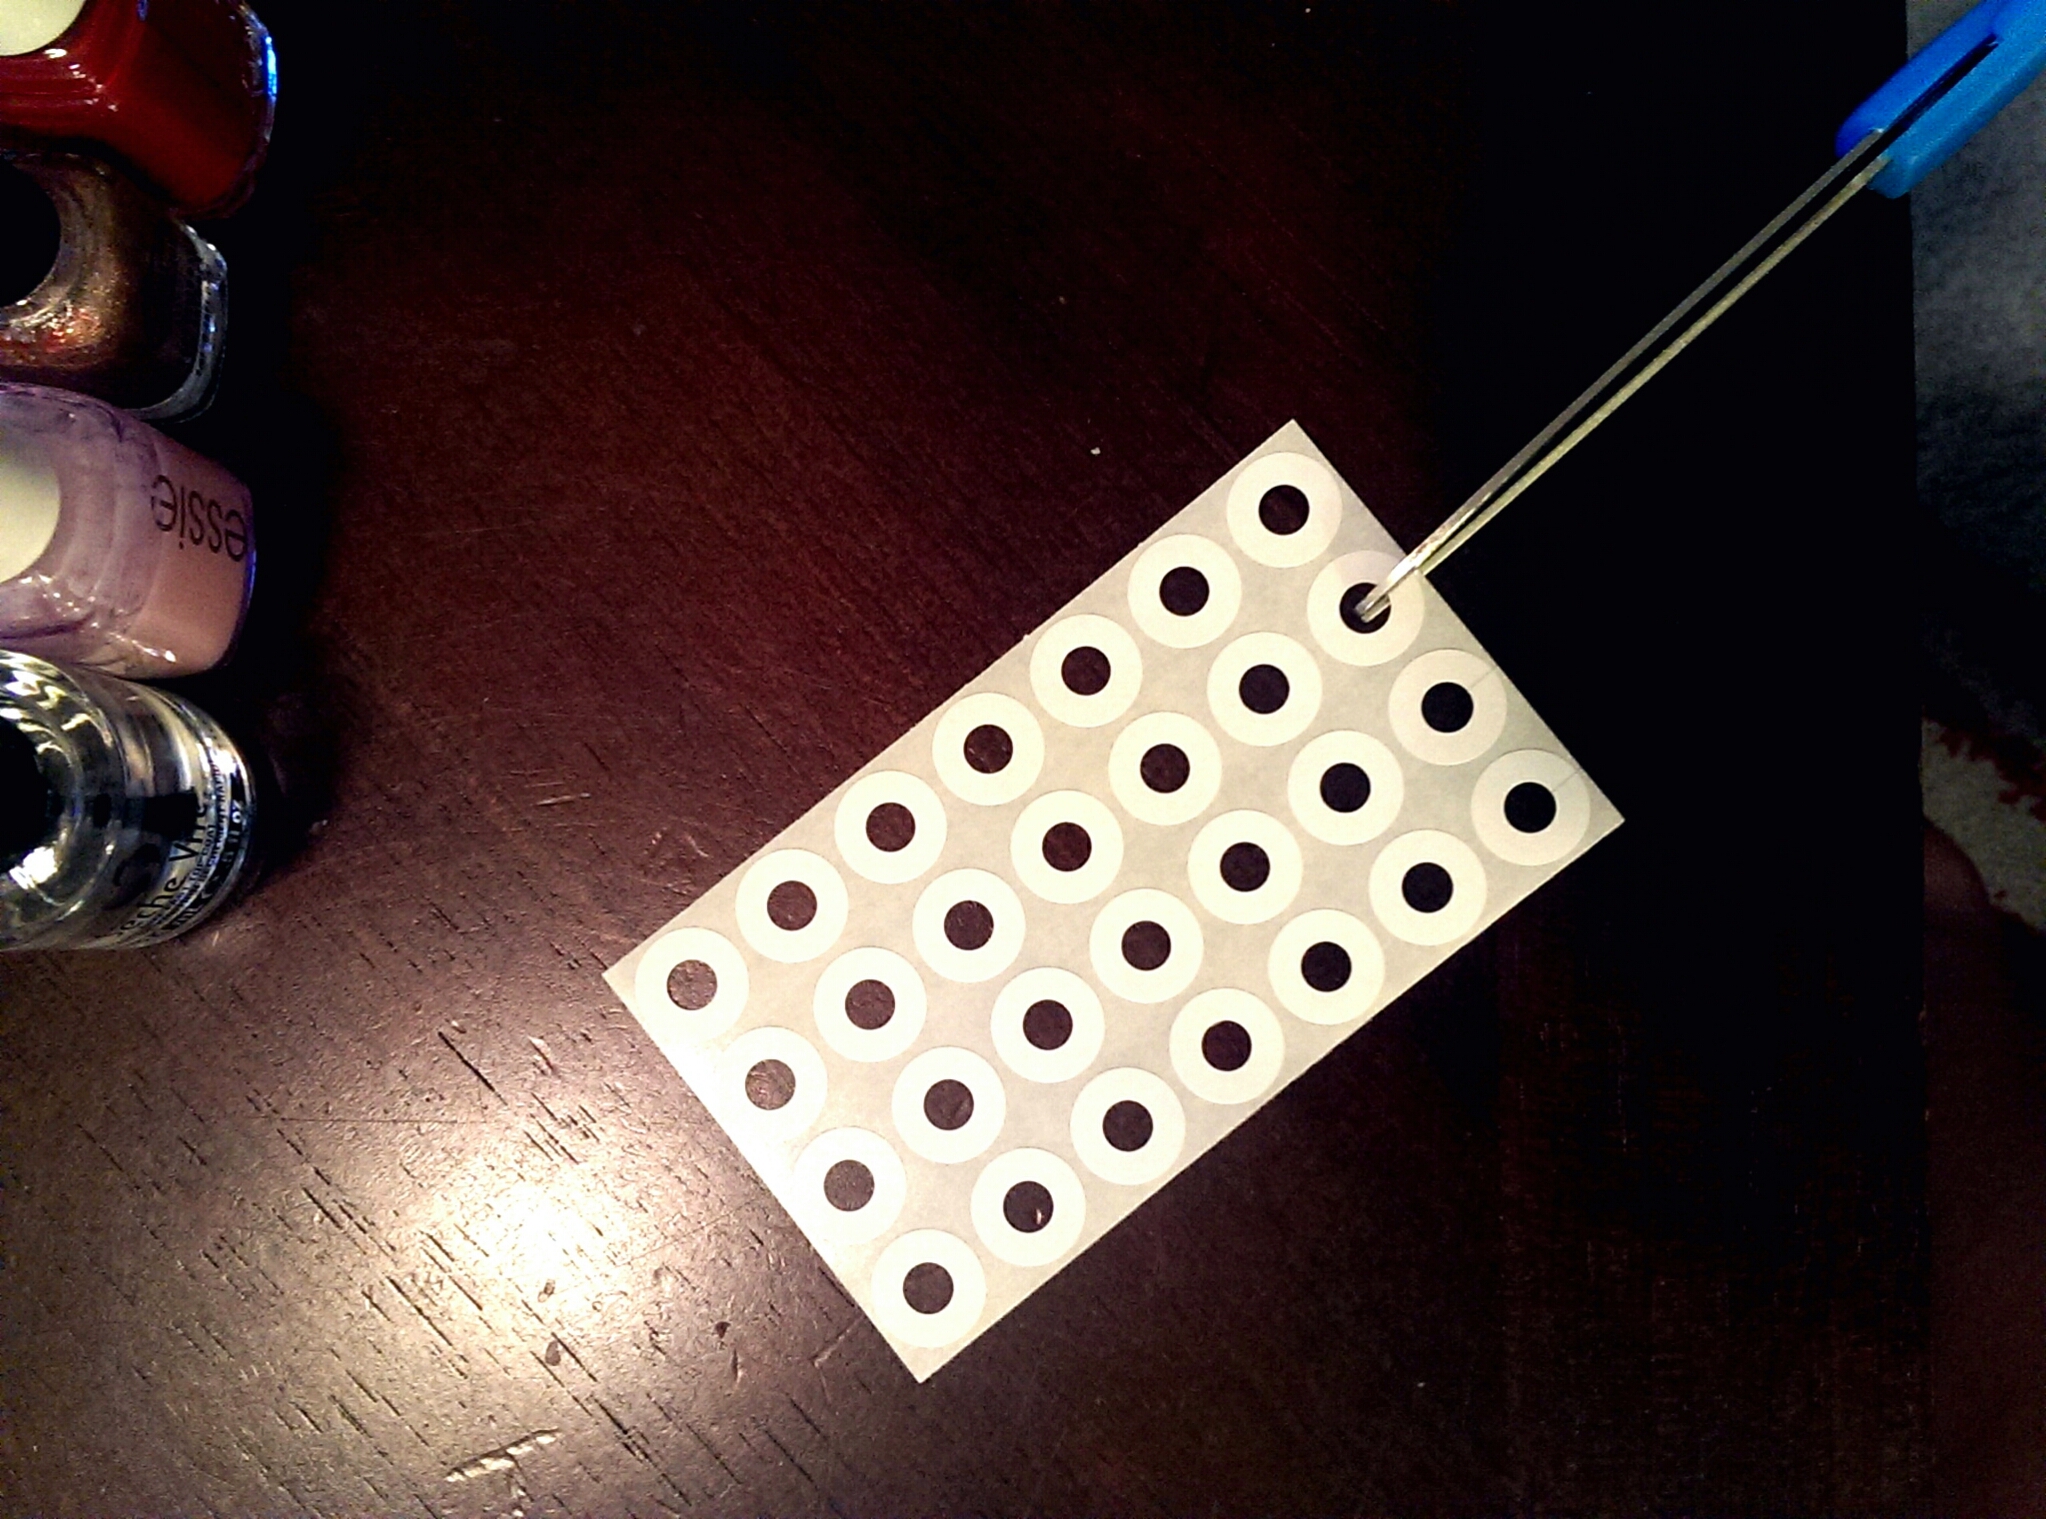
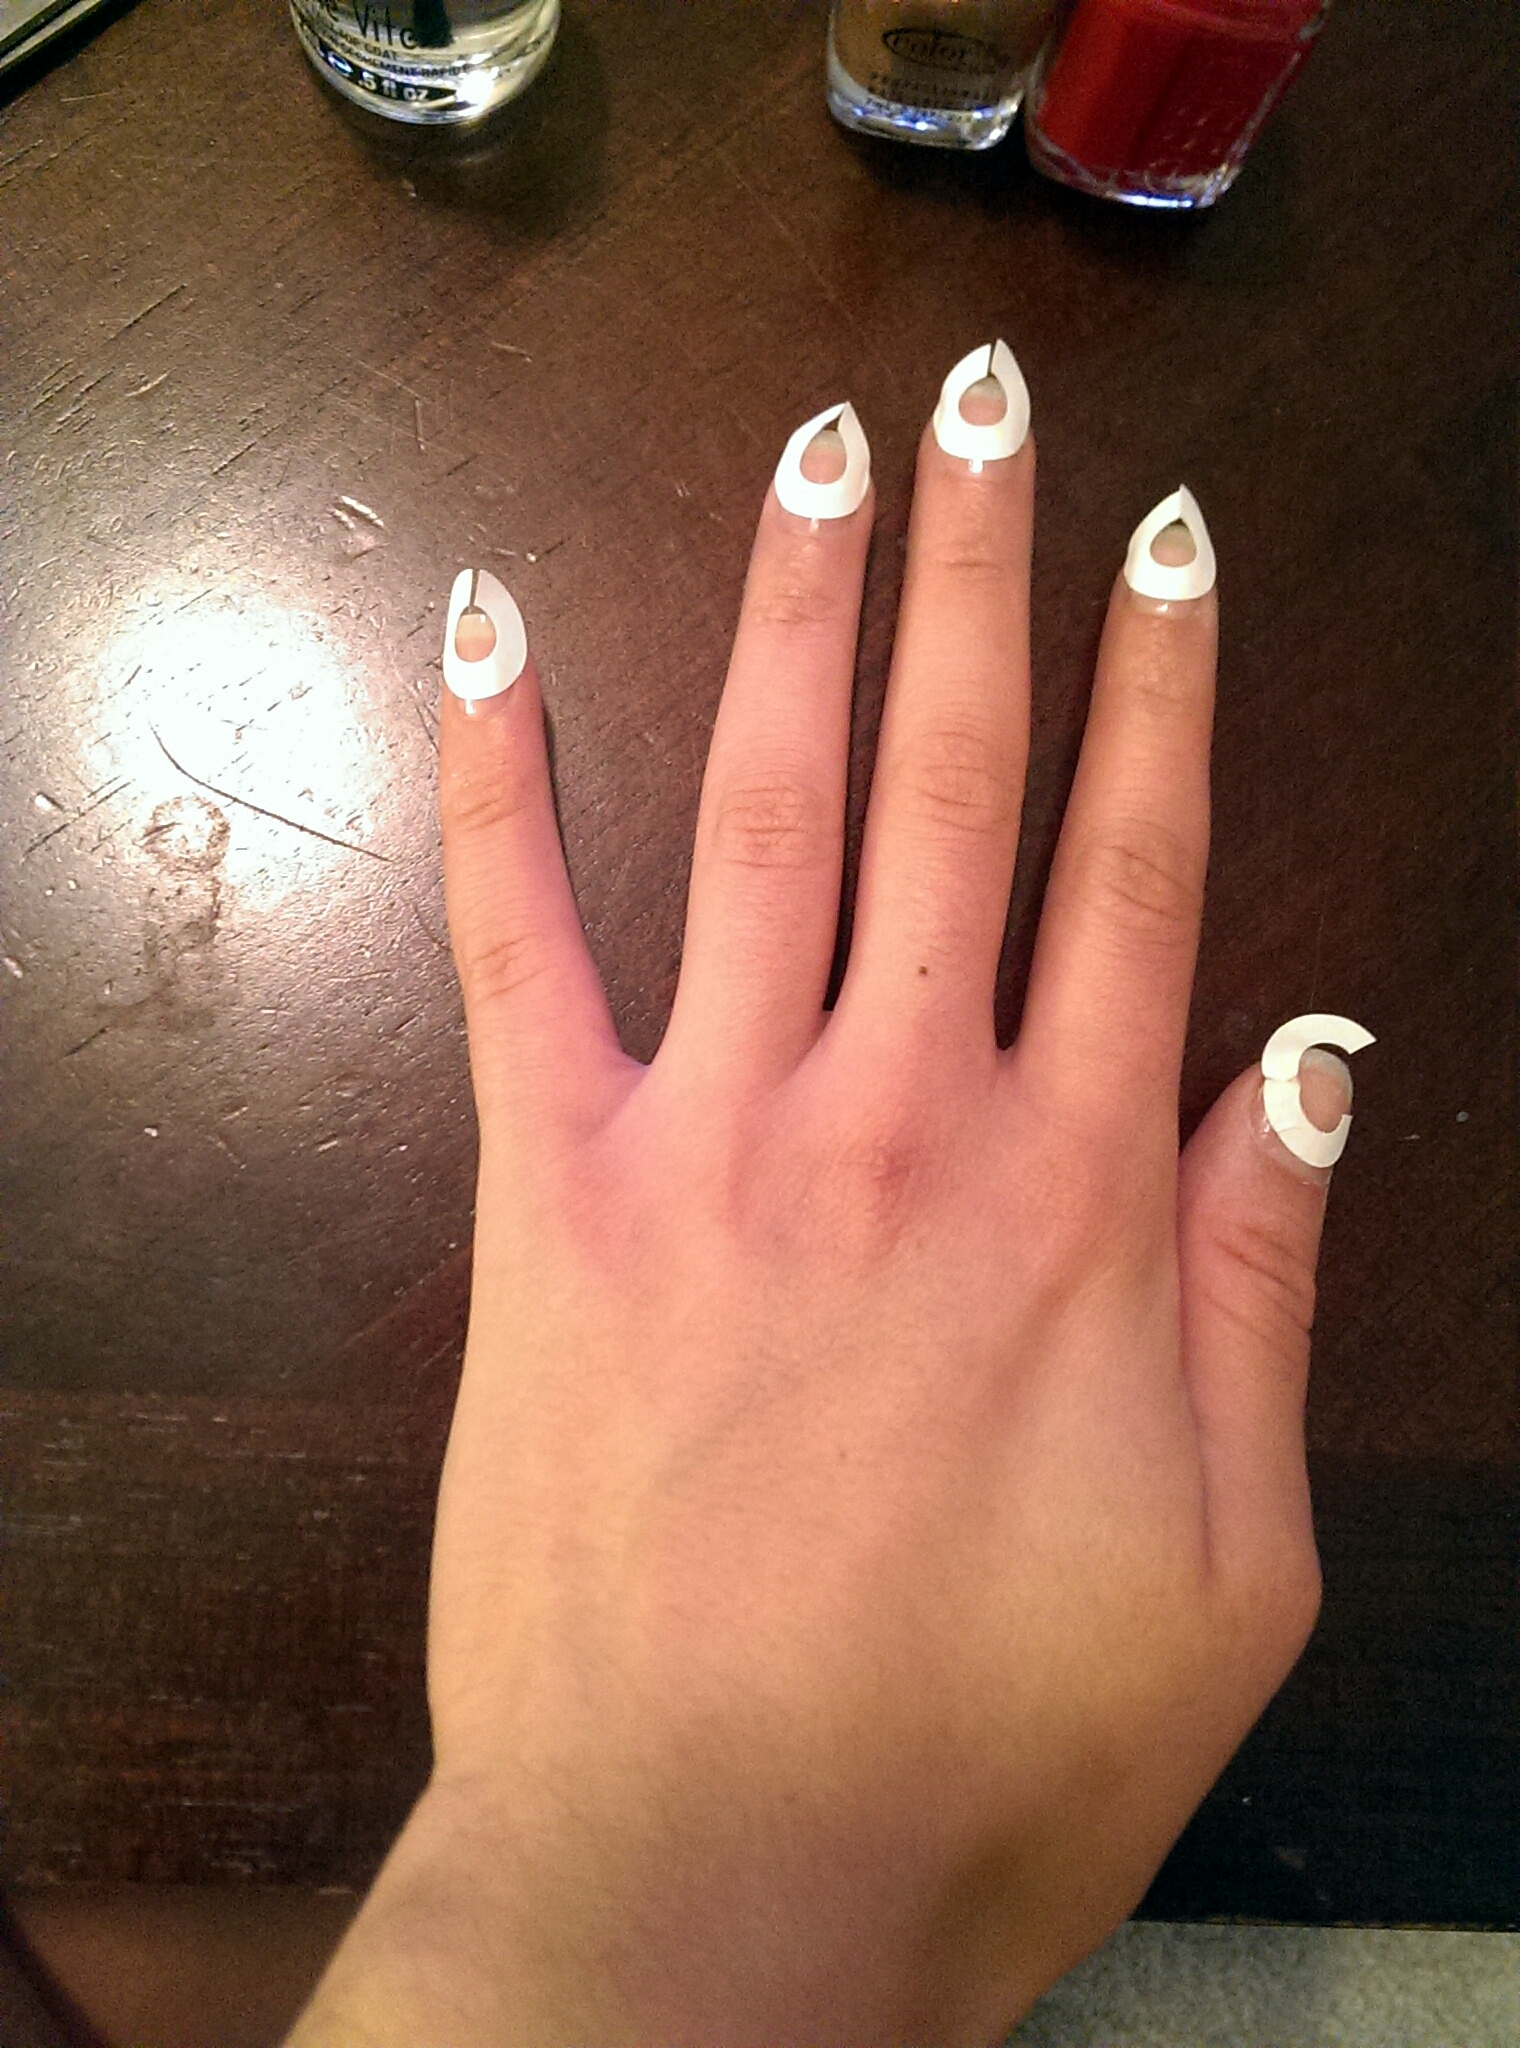
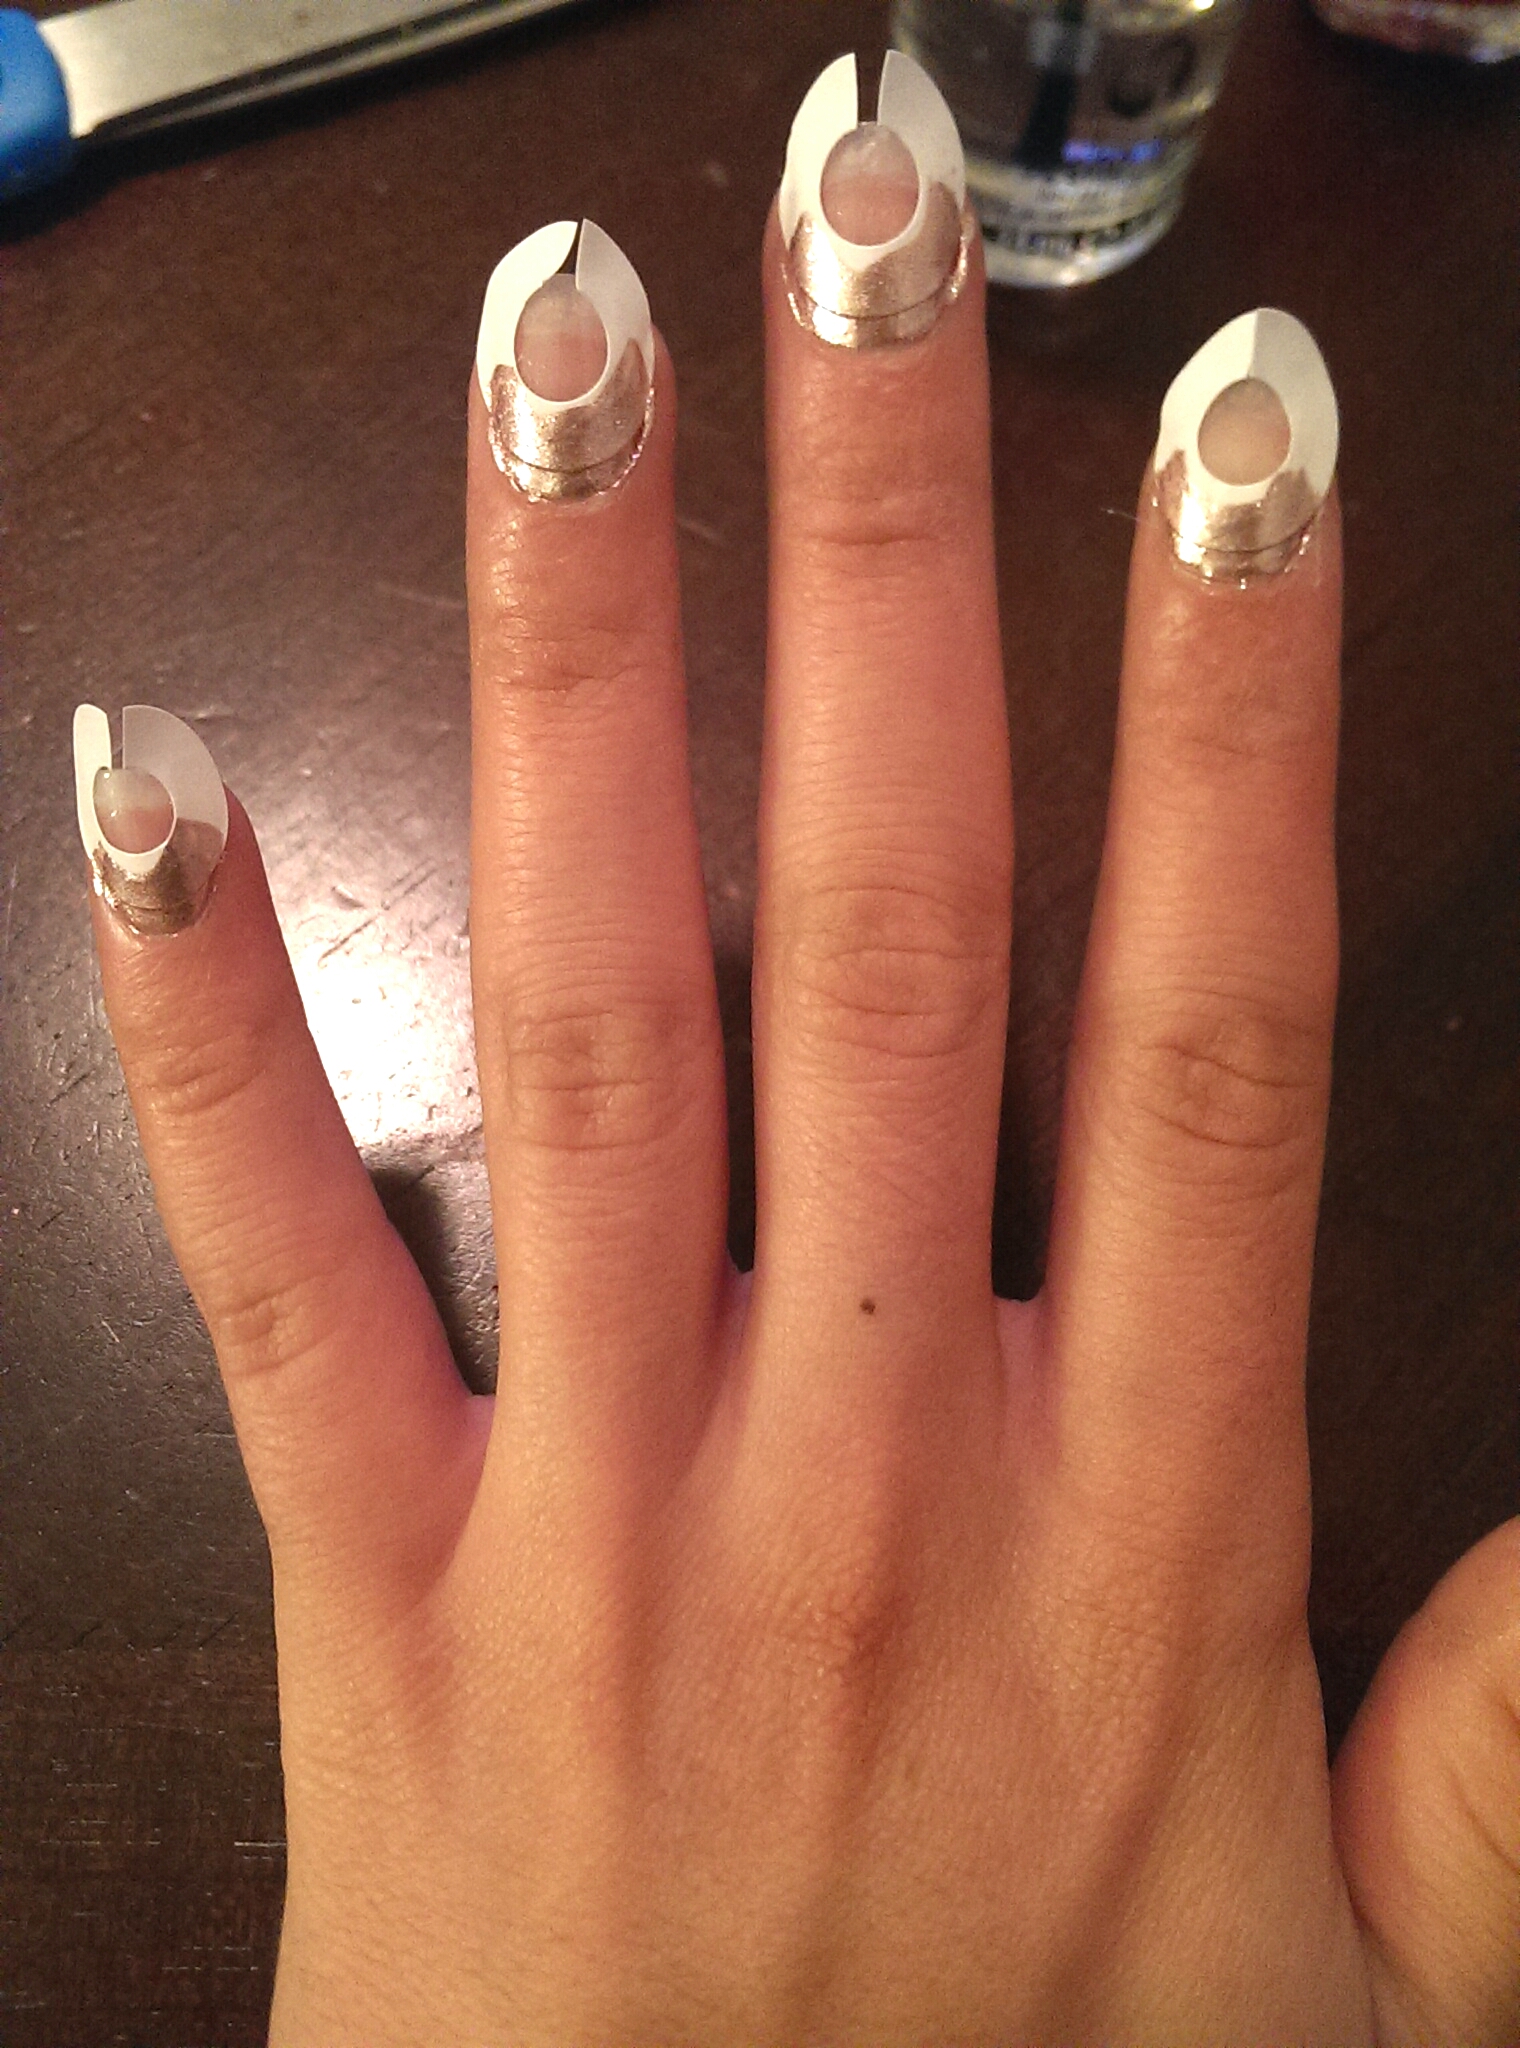
My mani stayed intact for approximately one week with no chips, which is something of a miracle given how much I cook. Did you know that Ruffian is actually a fashion brand, and that this lacquer is their debut beauty release (available exclusively at Birchbox). These gents are also the geniuses behind the Ruffian Manicure – also known as the half-moon mani. Check out my tutorial over here to score a salon-status Ruffian Manicure at home.
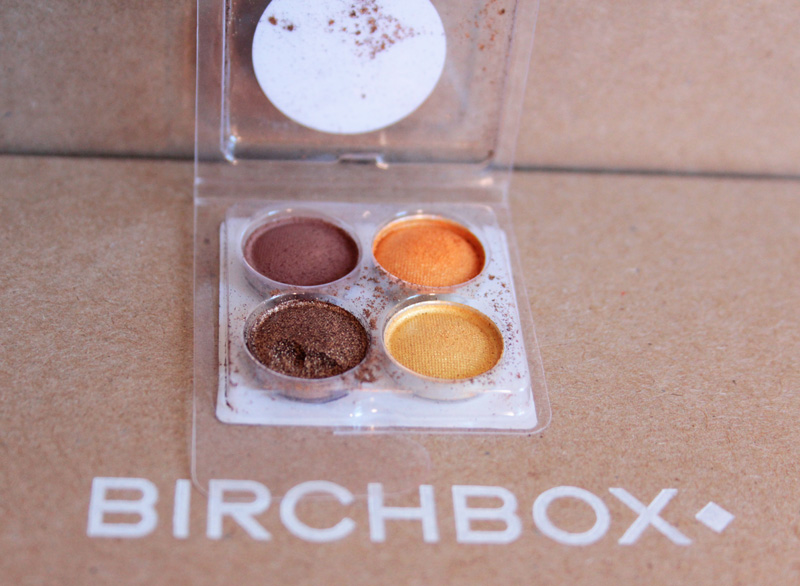
Coastal Scents Neutral Mirage Palette
Coastal Scents Neutral Mirage Palette: So I feel pretty bad admitting this, but I’m really skeptical of eyeshadows that come in giant palettes… especially from brands I’ve never heard of. My skepticism was totally shot down. The texture of the shadow was smooth, like what you would expect from your department-store shadows. The pigment was rich and the shadows all applied very well to my lids (it didn’t cling to one section of my lid and refuse to blend out). I created the below look using colors from my sample (and black liner and mascara). This look stayed in place until I removed it at the end of the night. While the palette is probably too big for my on-the-go lifestyle, this would be a great, affordable investment for someone who wants a ton of colors to play around with and who doesn’t live out of a suitcase/car.
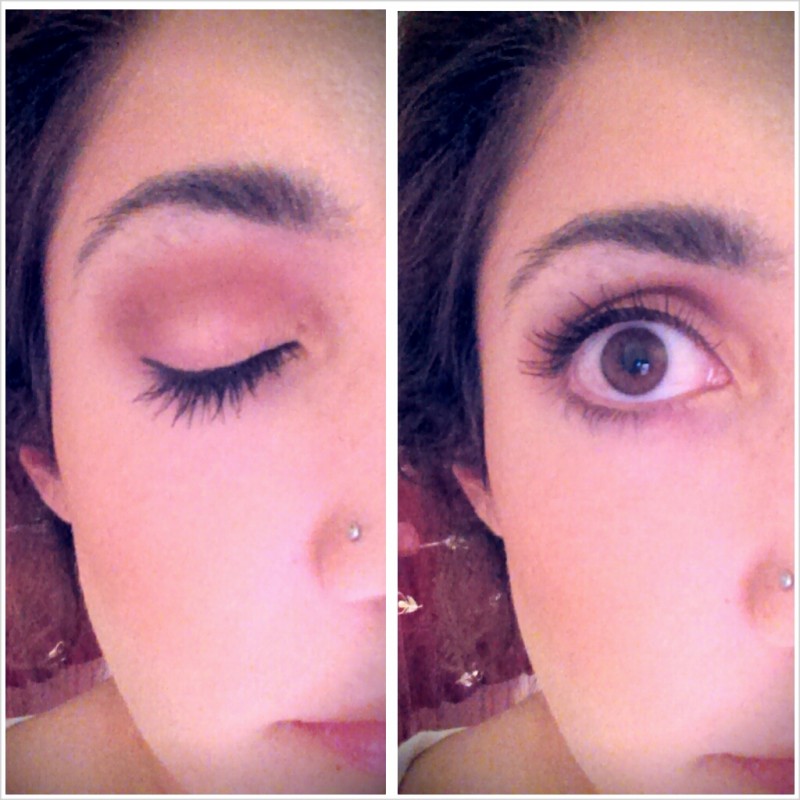
Coastal Scents Eyeshadow Look
The color is a little off (crappy lighting in my room), and you can go ahead and ignore my sloppy brows, please. I used the yellow gold on my inner corners, the orange over my lid, and layered the sparkly brown over the matte brown in my crease for some subtle drama.
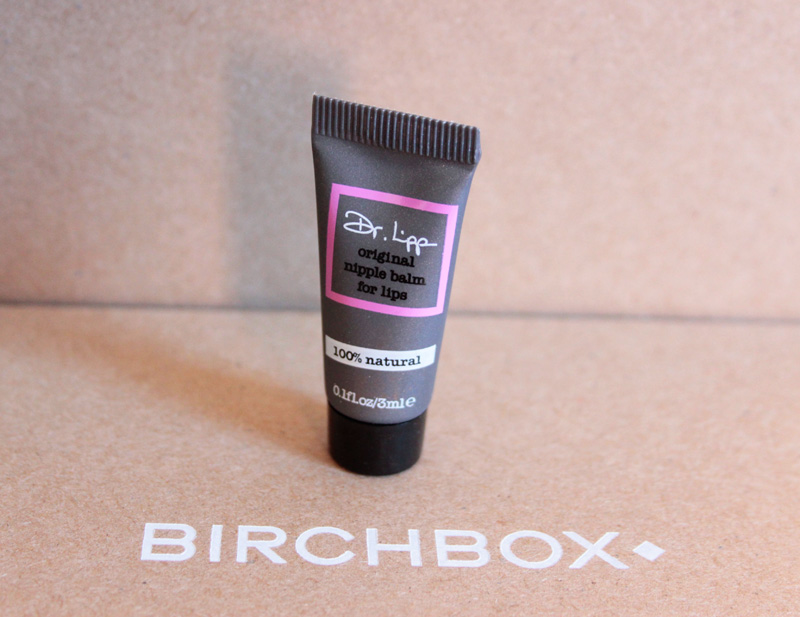
Dr. Lipp’s Original Nipple Balm for Lips
Dr. Lipp’s Original Nipple Balm For Lips: This sounds NSFW but it’s totally PG. Dr. Lipp originally created this product for nursing mothers to sooth any post-feeding discomfort, like chafing or dryness. The brand later discovered that this little balm worked miracles on lots of dry areas, including lips and cuticles. The formula has a texture and consistency more similar to Vaseline than lip balm or lotion, and you need the tiniest amount to cover your lips. It really did work a miracle on my moisture-starved lips. My only complaint is the ease of application. I had a hard time getting the product out of the tube, and found it a little too sticky for on-the-go application. I always has some excess residue on my finger and often didn’t have anywhere to wipe it.
Paula’s Choice Resist BHA 9
Paula’s Choice RESIST BHA 9 for Stubborn Imperfections: Well, that’s a mouthful. To be honest, I had really high hopes for this product (it arrived during a terrible skin-week for me). I didn’t see much benefit from it. I applied the serum-like-stuff 3 nights in a row, exactly as instructed. Maybe my pores looked a little smaller, but my skin didn’t feel any smoother, and my blemishes certainly didn’t calm down. This wasn’t a good addition to my beauty regimen, but perhaps it could be to yours! If you do give it a try, I’d be curious to hear how it worked for you.
That’s all for this post! Until next month ![]()