


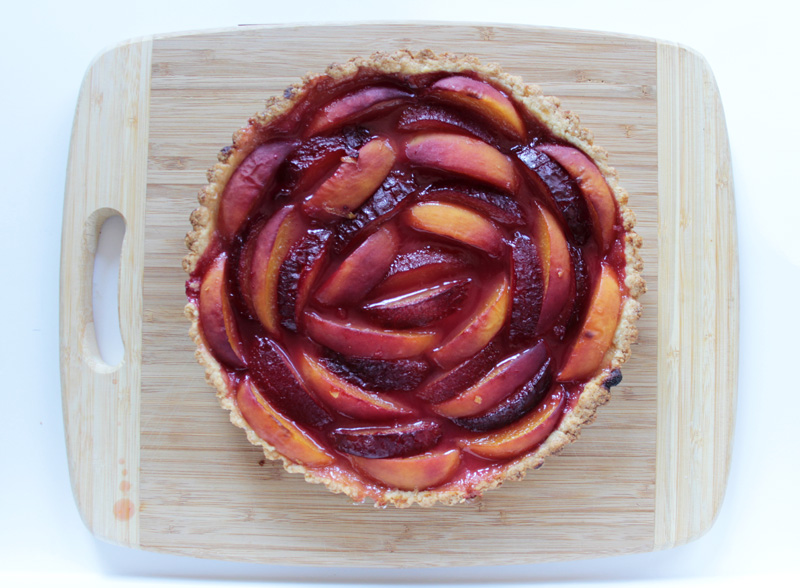
#humblebrag: This is the most beautiful creation to come out of my kitchen. And I’m really, ridiculously, excited to share it. (Don’t worry, it tastes really good too!)
Before I get started, a few things:
- I promise, I do make more than pies and tarts. As of late, I’ve just found it incredibly soothing to make pie crust and tart shells. Something about cutting butter into flour and smearing it to create those coveted layers relaxes me just as much as an hour of hot yoga. I’ve also really been enjoying experimenting with subtle recipe variations that yield different textured pastry; an egg really can make all the difference in the world! Please stick with me and you’ll get your cupcakes and cakes very soon!
- OMG there’s still delicious summer fruit at my favorite farmer’s market. I feel obligated to find as many ways to consume it as possible. If you don’t live in an area without a lingering summer and you’re already into apple season, then I’m sorry. But also consider checking out my recent post on freezing fruit so that you’re not left out next year!
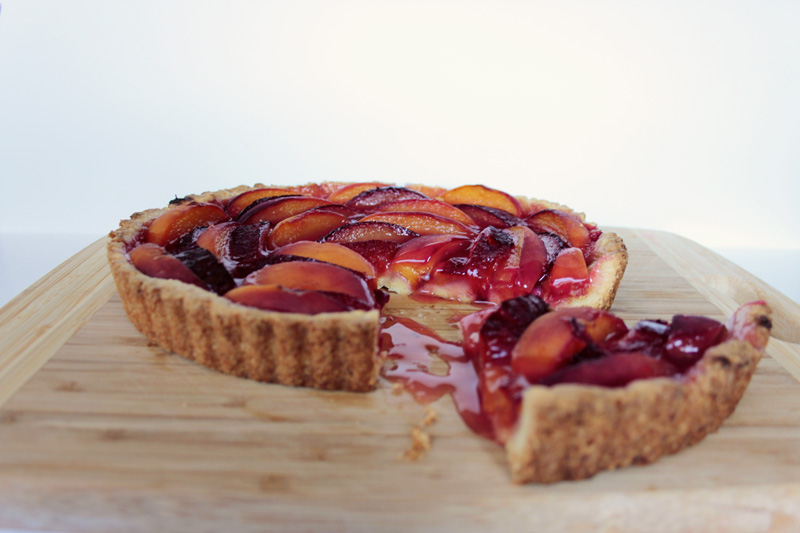
OK, so: let’s talk peach plum tart. Why that combination? Because that’s what tasted really good at the Frog Hollow Farm booth. The peaches were sweet, summery, and tender-but-firm, making them ideal for baking. Super soft peaches tend to fall apart, which is fine for a double-crust pie, but not great for a tart that should be showcasing the beauty of the fruit. The plums provided a great tart (no pun intended) contrast to the sweet peaches. As you can see from above, the color of the skin and meat of the peach and the plum also look beautiful together. That said, I see no reason why you couldn’t make this tart with all peach, all plum, or even with nectarines! Go with what tastes fresh and delicious, and you’ll have a fantastic final product.
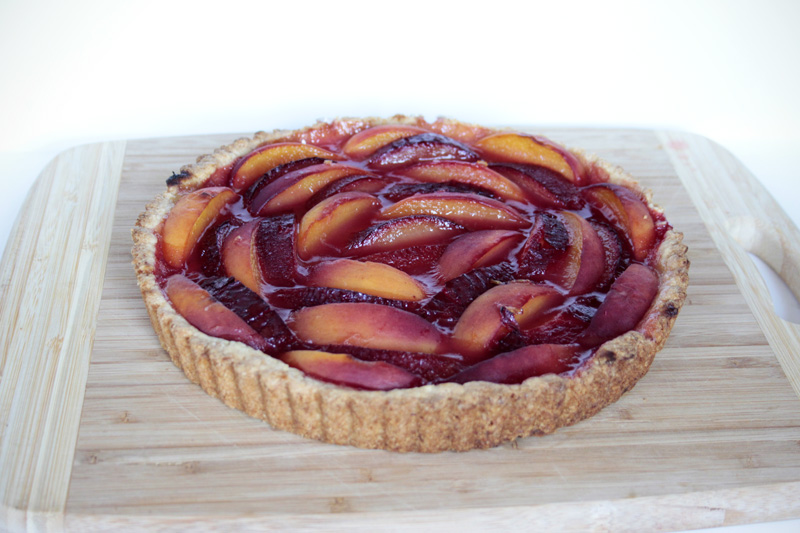
You might be wondering, “Do I really have to make a tart crust from scratch?” The answer is YES. First: it tastes way better. Second: it tastes way better. Third: tart and pie pastry are different. Pie crust should be more like a croissant or a puff pastry, with defined, flaky layers. A tart shell should be more tender than flaky – more similar to, say, a shortbread cookie. So, you can’t use pre-made pie dough from the supermarket for this. Scared of making pastry at home? Don’t be. It’s easy – I’ll walk you through it! You do not need a food processor: just invest in a $10 pastry blender and you’re good to go.
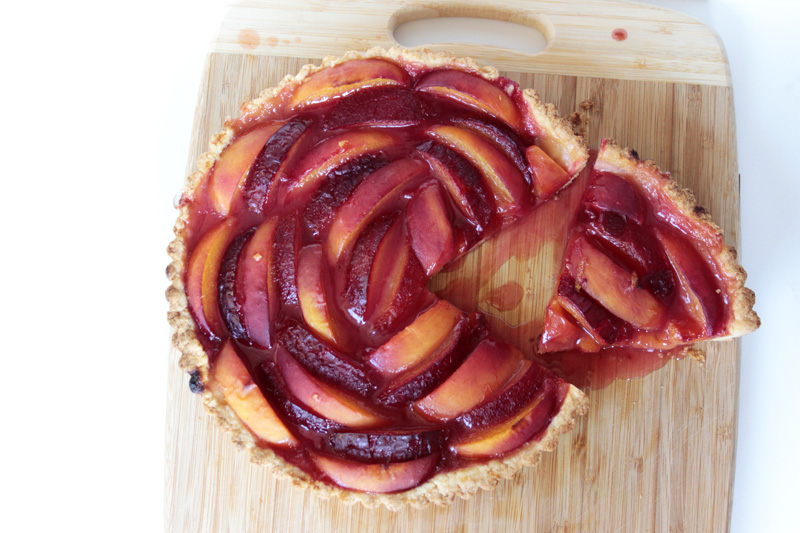
Another important note: there will be some juice drippage if you do not refrigerate! That said, it’s fairly minimal and slow-moving. You’re not going to cut into this and have a runny mess all over your board. The above was after a good 20 minutes of shooting… and I was bad and cut into a still-slightly-warm tart. I couldn’t help it.
ingredients
- 1 1/2 C all purpose flour
- 1/4 C vanilla sugar (granulated is fine if you don't have vanilla sugar)
- 1/4 tsp table salt
- 9 TBSP cold unsalted butter, cut into 1/2 inch cubes (keep in the refrigerator until you're ready to begin)
- 2 egg yolks
- 2 large plums (appx 3/4 lb)
- 2 large peaches (appx 3/4 lb)
- 1/4-1/2 C granulated white sugar (use less if your fruit is very sweet, more if it's very tart)
- 1 tsp freshly squeezed lemon juice
- 1/2 tsp freshly grated lemon zest
- 1 1/2 TBSP cornstarch
instructions
- Mise en place!
- In a bowl large enough to make the pastry dough, whisk together the flour, sugar, and salt.
- Add the butter cubes and toss so that they're fully coated by the flour. This will make it easier to cut into the flour by preventing your pastry blender or food processor blade from sticking.
- If you're using a food processor, transfer to the processor bowl. If you're cutting by hand, proceed to do so. Pulse or cut until the butter is the size of small peas.
- Lightly beat the egg yolks, then stream into the processor using the feed tube, or sprinkle over your work bowl. Pulse or continue to cut with pastry blender.
- Now it's time to use your hands. The dough will be slightly crumbly at this stage; pick up the chunks and smear between your fingertips, then allow to fall back into the bowl. This elongates the butter which will create some layers in the pastry once baked. Your fingertips will also ever so slightly melt the part of the butter, which will help bring the dough together.
- Pick up a chunk of crumbles and squeeze together. If it holds its shape, you're ready to move on to the next step. If not, keep working it with your hands. If it's really, really dry, add 1 TBSP ice water.
- Press the dough into a 9 inch round tart pan with a removable bottom, making one even layer. Make sure to press it in against the sides so that the pastry has a clean lines
- Transfer to the refrigerator and chill while you make the filling
- Cut your fruit into even wedges. My fruit was large, so I quartered it, then cut each quarter into 3 wedges
- In a large bowl, combine sugar and cornstarch with a whisk.
- Add fruit, and toss gently to coat completely.
- Add lemon juice and lemon zest, toss again.
- Let fruit macerate (marinate, but fruit-specific) for 30 minutes, stirring gently after 15 minutes
- Preheat your oven to 425
- Arrange the fruit however you like in the tart shell! I went skin side up and made a rose pattern, but this is a time for you to experiment and get creative.
- When you're done arranging the fruit (and don't feel obligated to shove it all in there), pour any juices over the top.
- Bake at 425 for 15 minutes on the middle rack
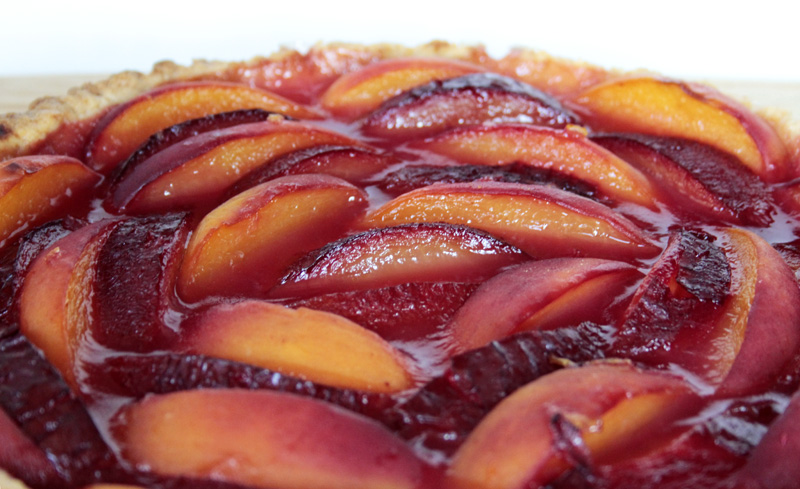
- Drop temperature to 375 and loosely cover tart with aluminum foil. The foil will help trap steam and create the juicy stuff that surrounds the fruit. Technically speaking.
- Remove the tart from the oven when the juices are bubbling, this should take another 30-40 minutes under the foil.
- When remove the tart from the oven and let cool to room temperature. Refrigerate 1-2 hours to help the fruit set up, then return to room temperature to serve.
- Enjoy!
Notes
Recipe adapted from Epicurious
To make vanilla sugar simply add 1-2 vanilla beans to a jar of sugar. Continue to refill sugar as you use it. I use pods that have been scraped of their seeds for this; it allows me to use something that would otherwise be discarded. If you make a custard and you put the pod in with the seeds, just rinse and dry thoroughly before adding.
Please let me know how this recipe works for you!
Agreed… SO beautiful! You dun good.
Thanks so much, Manda!