


OMG I’m so excited. This is the my first tutorial, and while I know the image quality could be better (sorry… got home way later than anticipated and totally lost the natural light…), I think I’ve devised a really easy way to get a salon-grade Ruffian manicure! Once you get the basics down, you’ll be all set to start creating enviable nail art complete with embellishments, ombre, and whatever other trends strike your fancy.
For this look, I used Essie’s Twin Sweater Set and Color Club’s Birchbox Exclusive Put a Pin in it. While this particular tutorial unfortunately does not feature a Ruffian lacquer (Birchbox only sent me one, okay!), you can check out my Hedge-Fund mani on my September Birchbox Review post to see how I used it.

Step One: Lay out all of your materials. You’ll need a base coat, top coat, 2 complimentary polish colors, scissors, and a magazine to protect your table (not pictured).
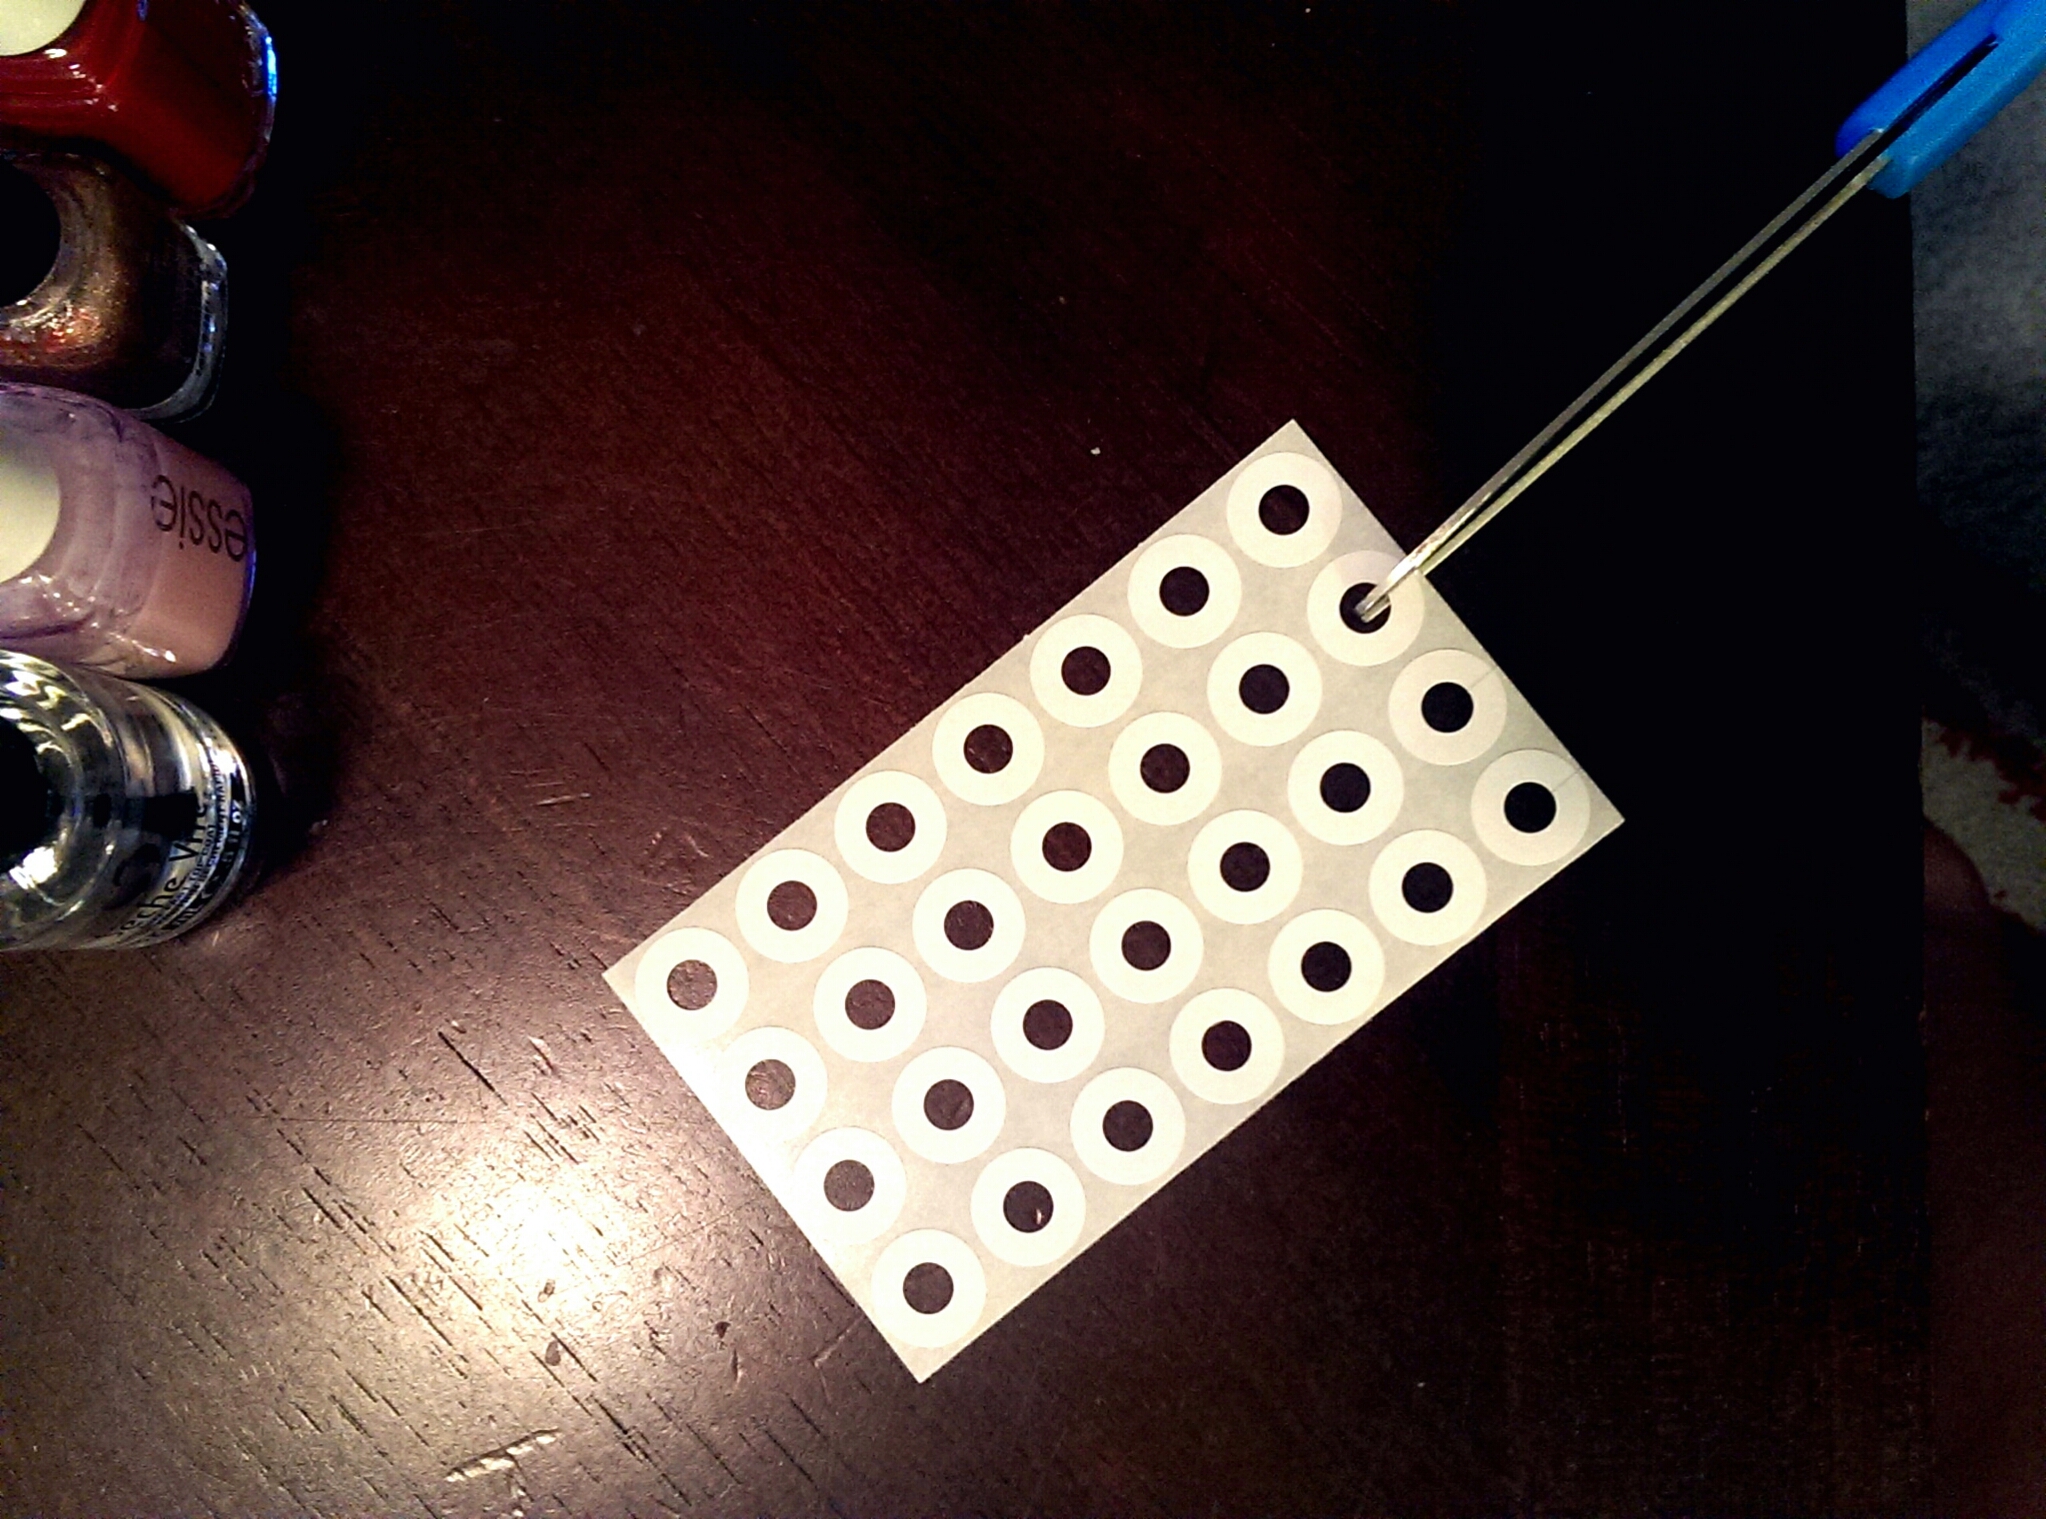
Step Two: Cut one slit in ten of the reinforcement labels. Do this while the labels are still attached to the paper backing. The slit should cut all the way through the ring, leaving you with an expandable circle that can be adjusted to fit any size nail bed while yielding a consistent edge.
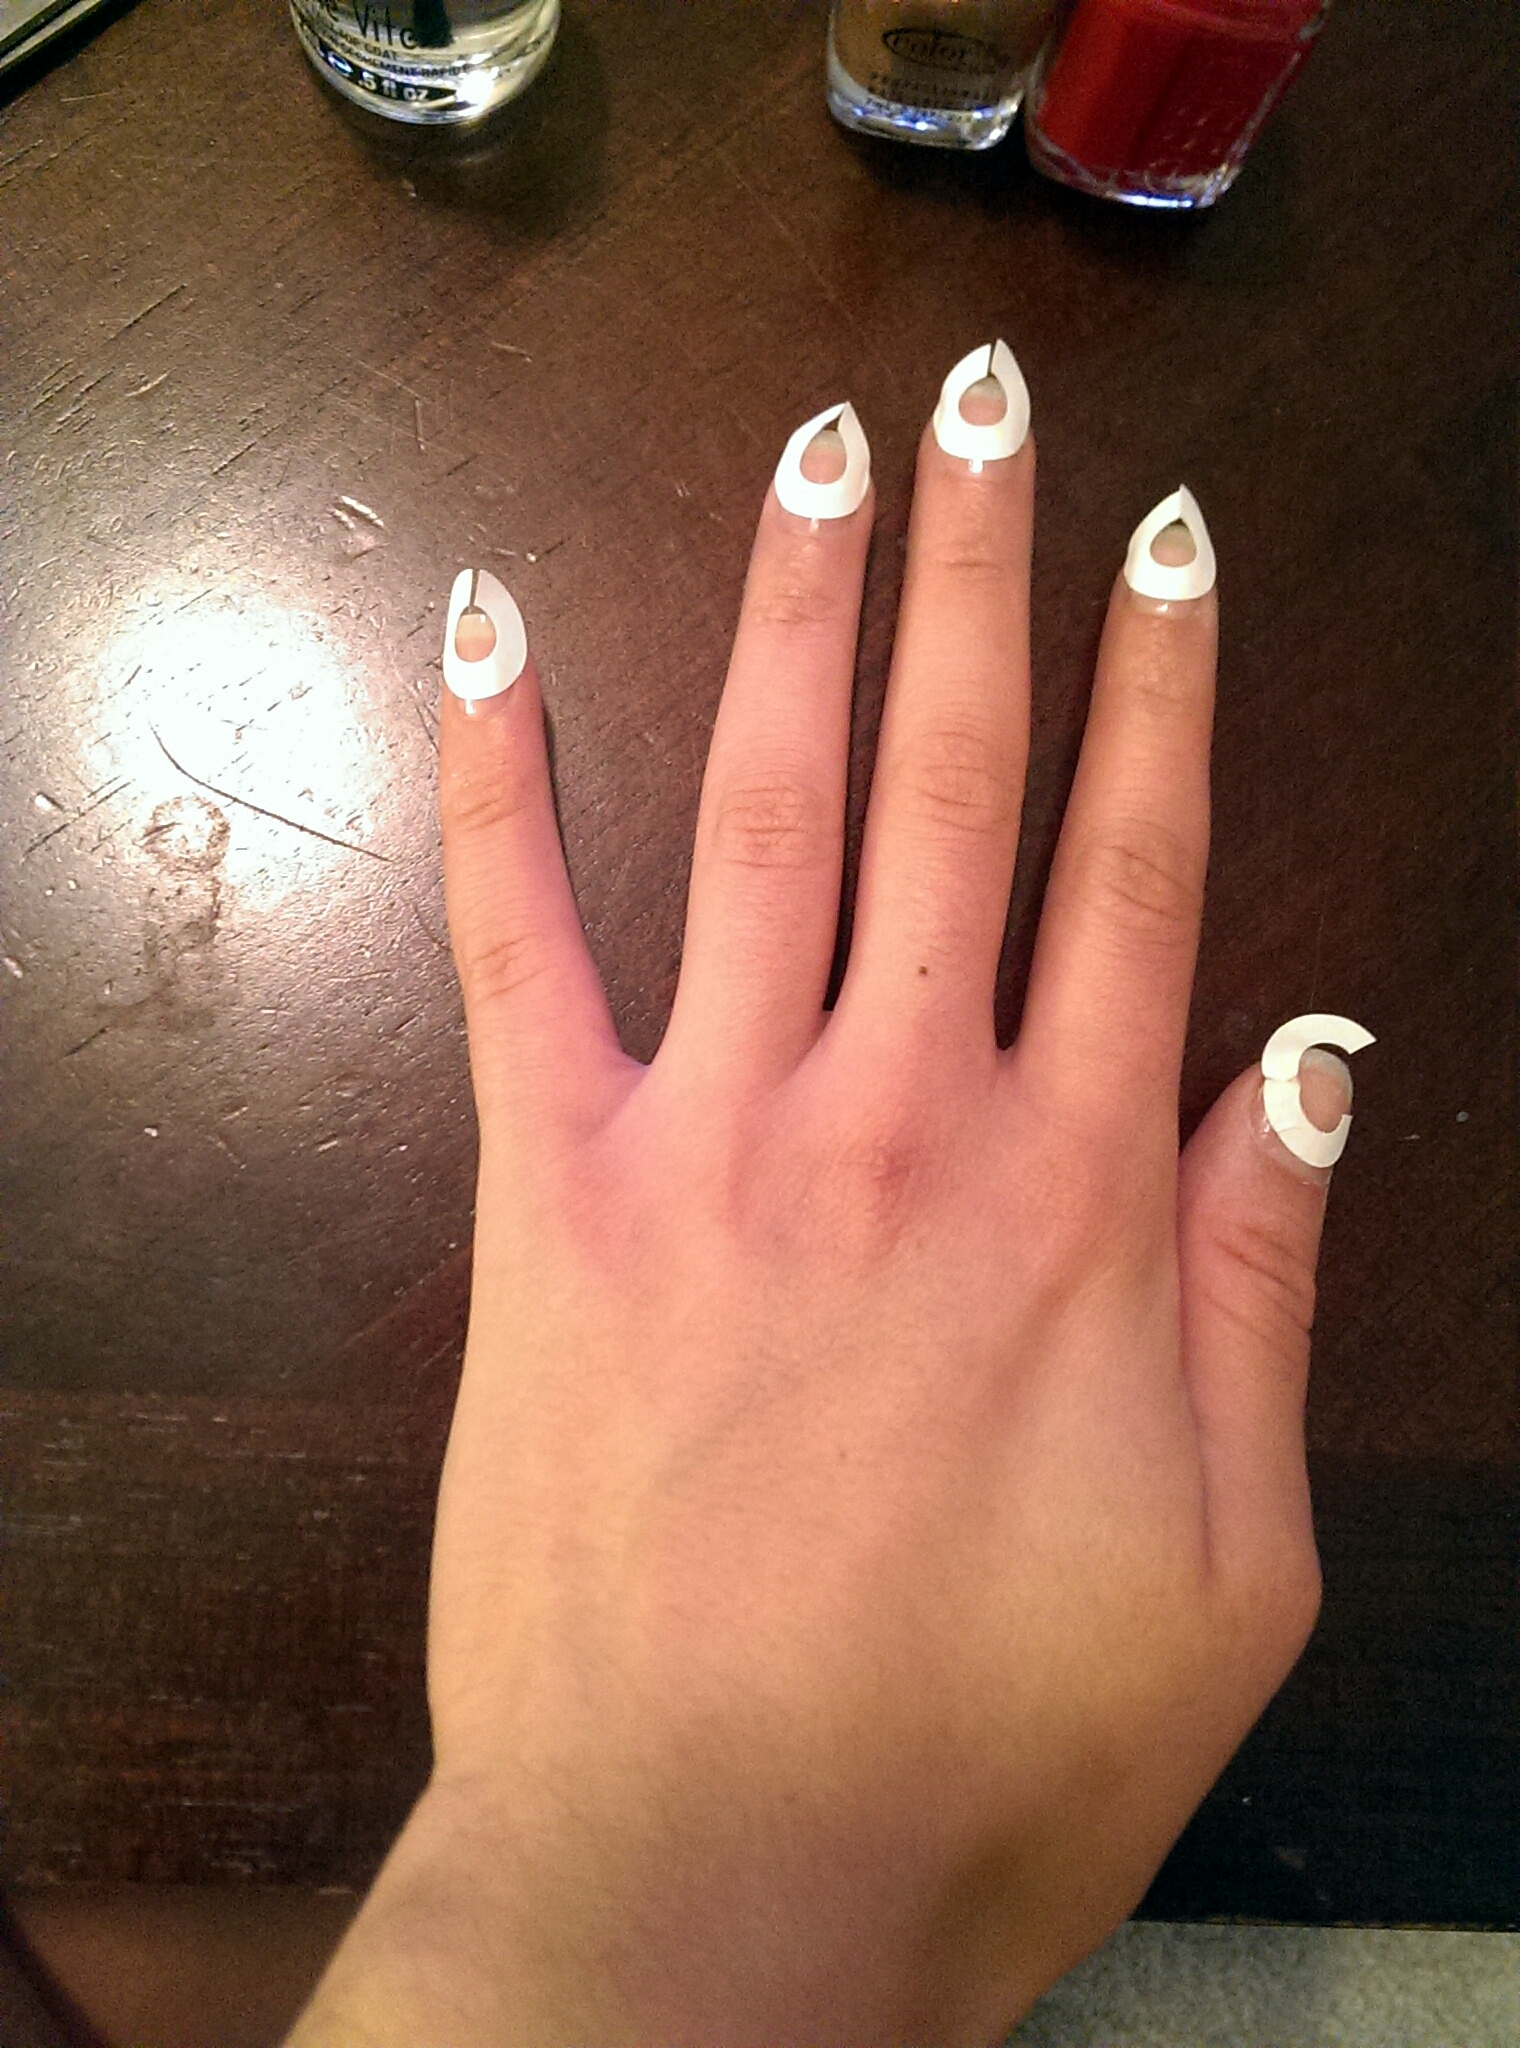
Step Three: Prep nails with base coat and let dry 5-10 minutes. Then, carefully apply the labels. Unless you have very slender thumbs, you’ll need to expand the circle slightly. Do this by pressing down the center of the label, then gently pulling each side out as far as you need to in order to make the label hit the edge of your skin. Press the edges firmly to ensure a crisp line. I created slightly smaller rings for my fingers by overlapping the edges. If the label wrinkles (it probably will on your thumb) just use your nail or cuticle pusher and smooth it out. I like to leave about one label-width between my cuticle and the bottom of the label because it creates a thin, elegant line that elongates my short nail beds. If yours are longer, you may want to leave more space to create a wider half-moon.
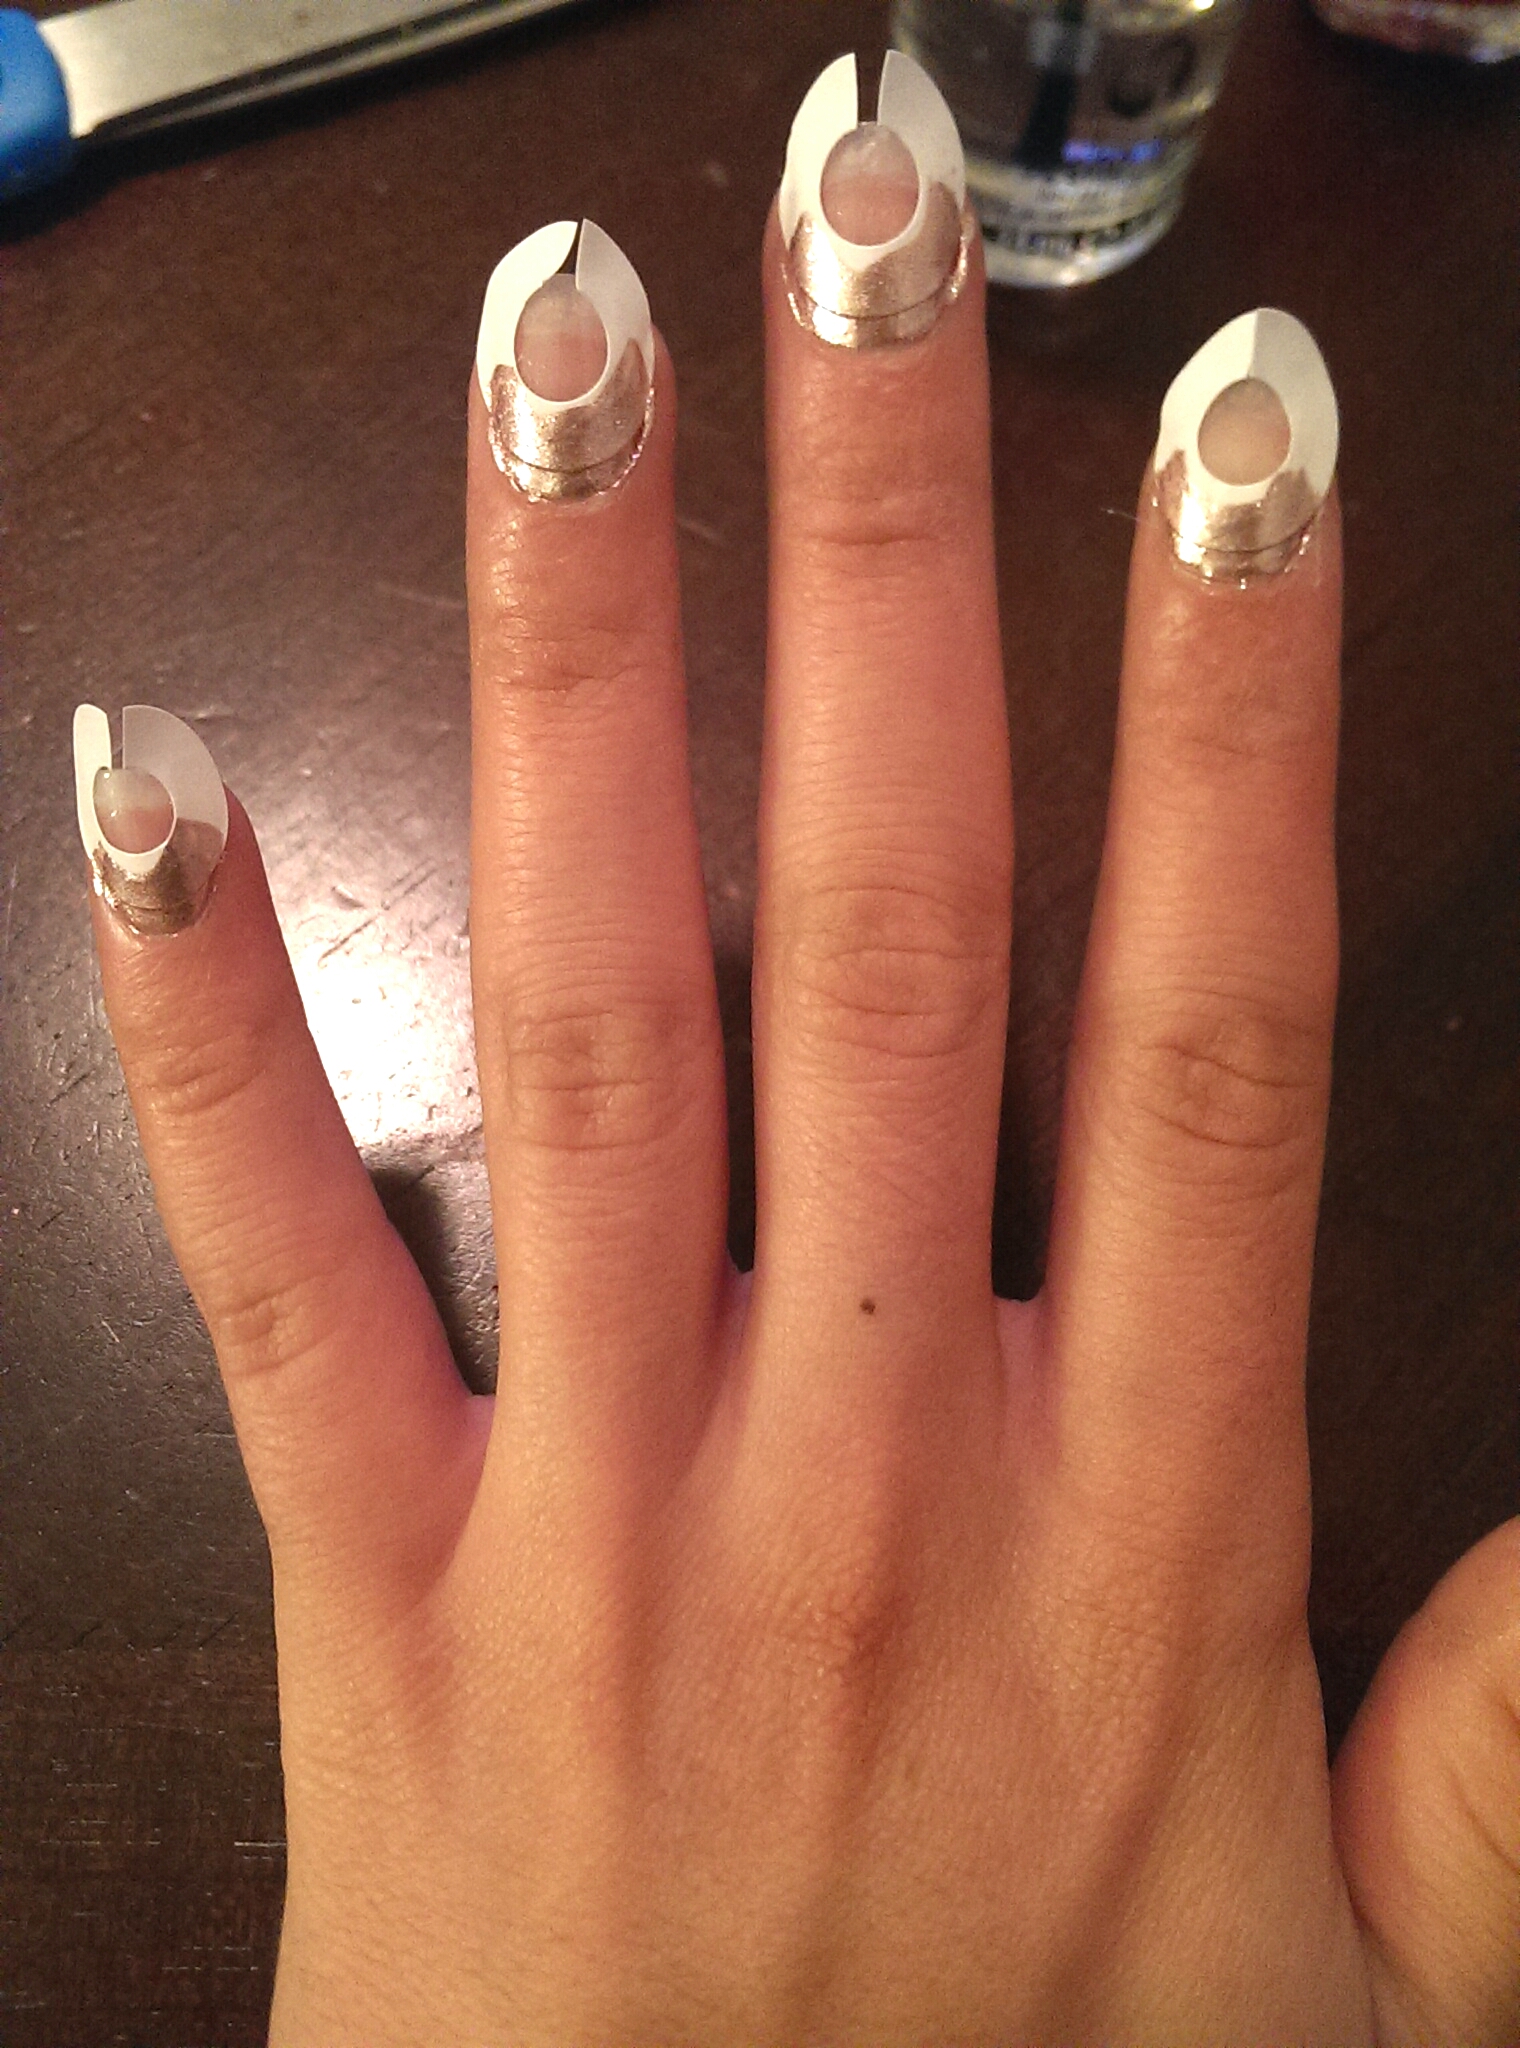
Step Four: Apply two coats of your first color. Remember that proper application begins with a small dot in the center of your nail, which you gently push back so that it almost touches your cuticles. Then, sweep out toward each side to cover completely. Unfamiliar with this technique? Check out this awesome post from Lacquerized for a detailed explanation.

Step Five: Carefully peel away the label. By the time you finish painting the second coat on your last digit, the first digit should be just set enough to peel away the label. You cannot leave the label on your finger until the polish is totally dry – doing so will cause the label to lift your polish right off. And this is why I like these rings so much: I was able to grab one side and lift straight up while rotating my finger in the opposite direction, which gave me a crisp, clean line.
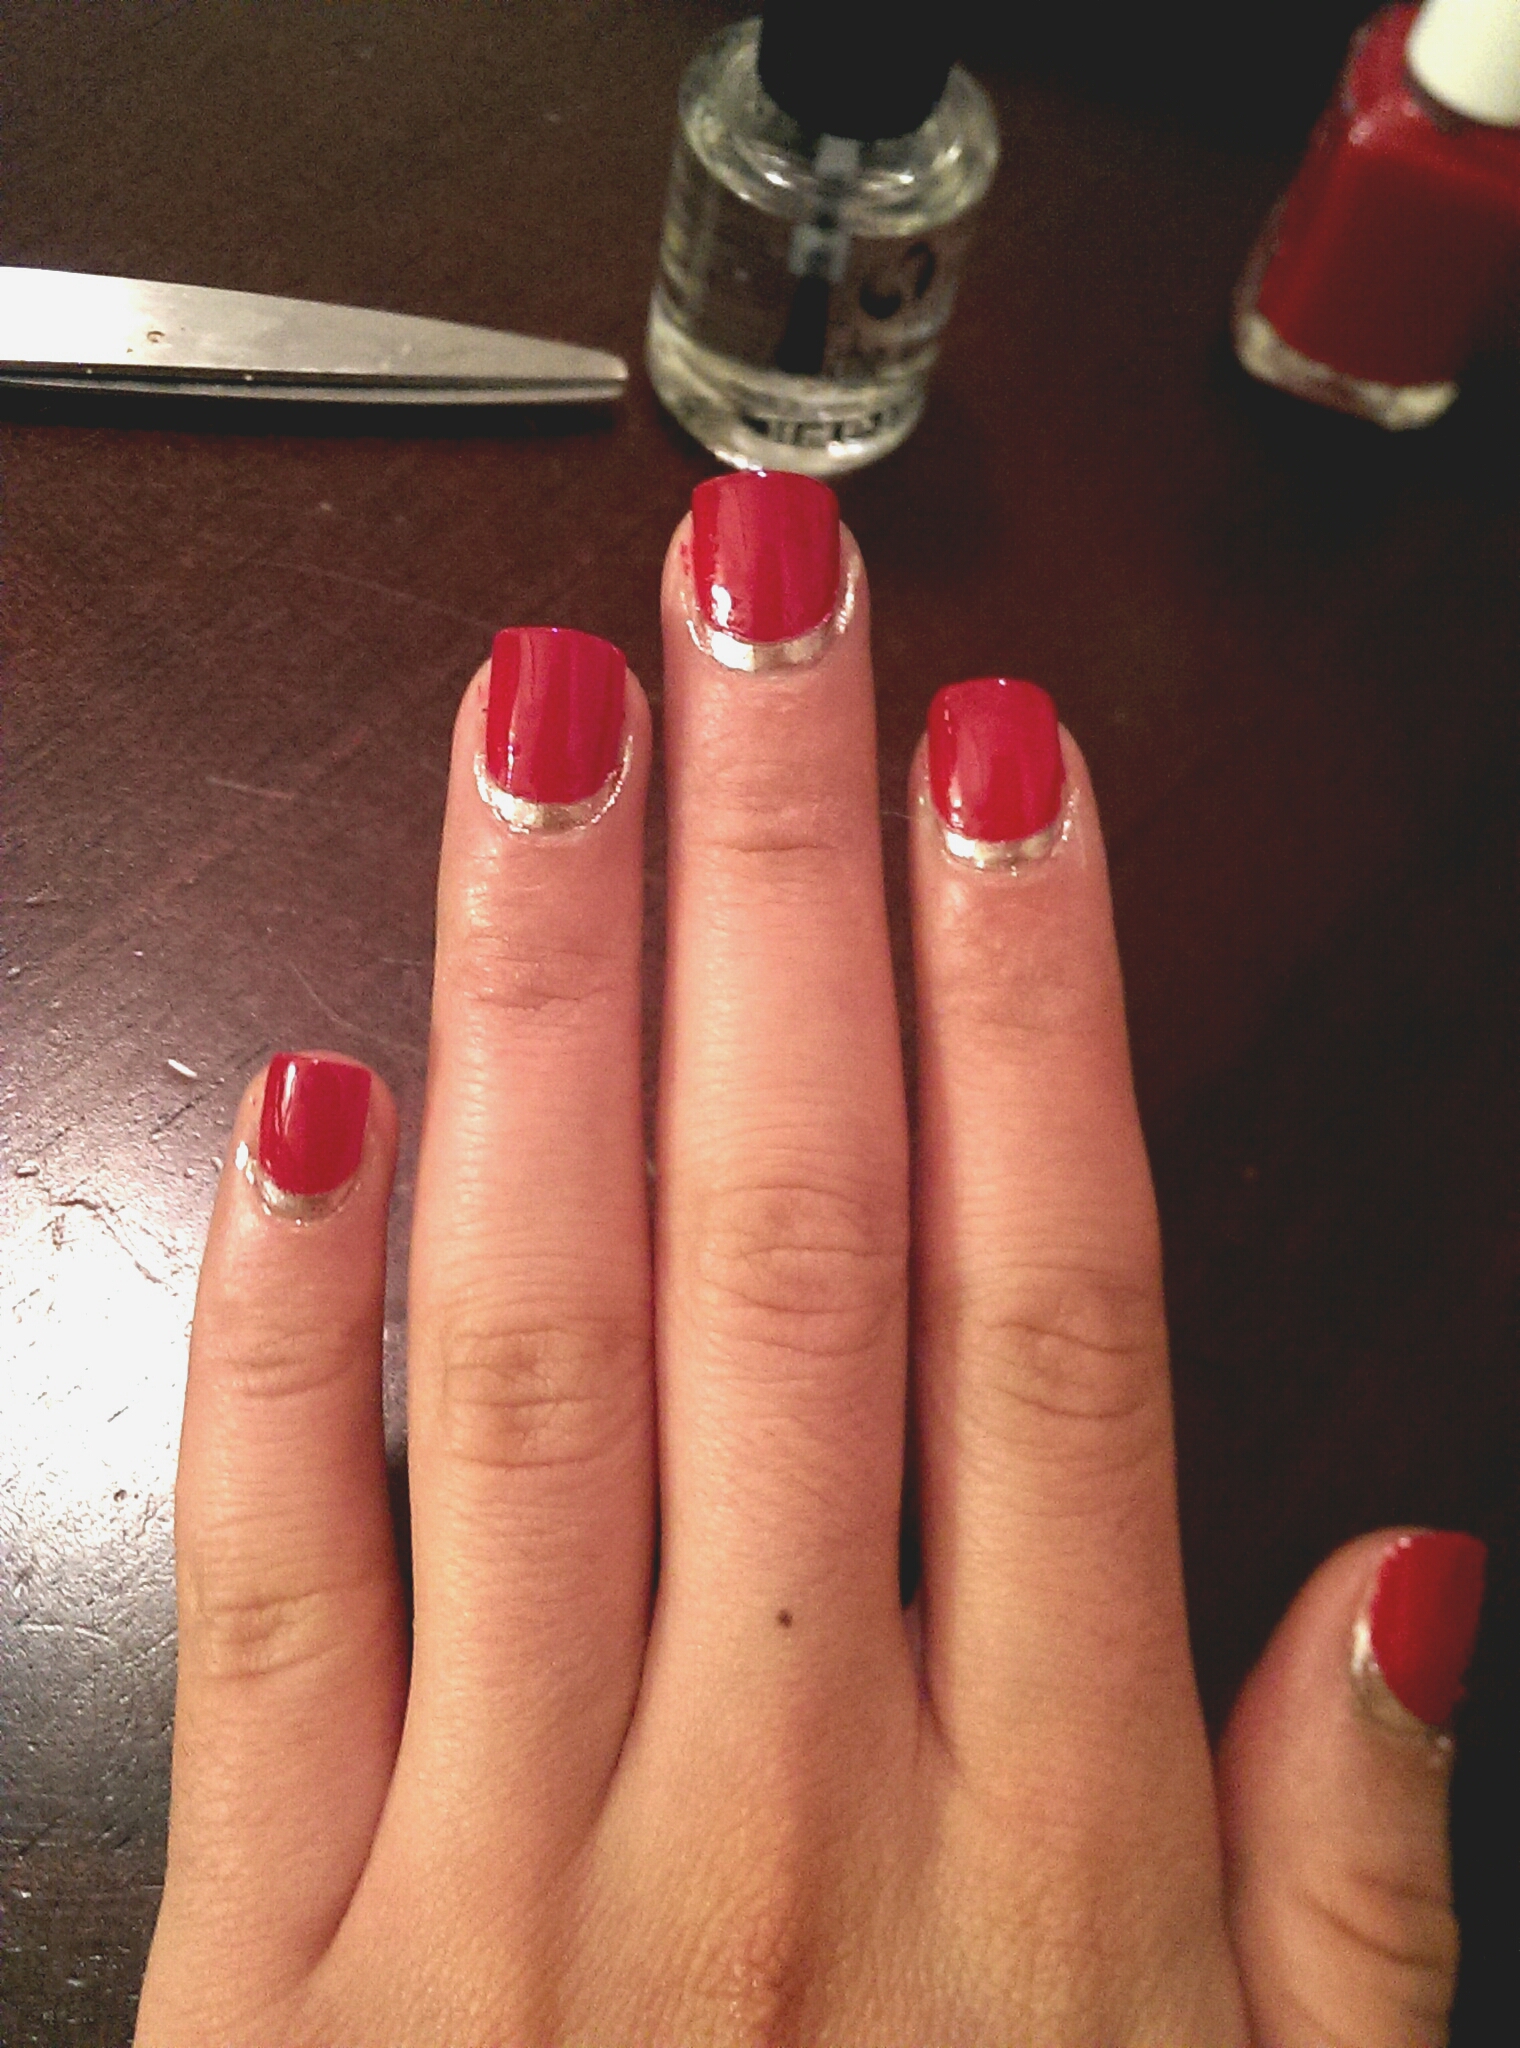
Step Six: Apply two coats of your second color. This is the time to be extra careful and extra detailed in your application. You want to push the brush back on your nail so that the second color bumps up against the first color. Removing the label will have left a ridge where the first color ends, and you want to push your second color up to that point. You should be able to feel the ridge through the handle of your polish brush, so make sure you go slowly and even the most unsteady hand will still get a perfect Ruffian Manicure.
Step Seven: Top with topcoat and pat yourself on the back.
[…] ← Previous […]