Hosting a group of friends for NFL Sunday/Monday/Thursday can sometimes be stress inducing. Aside from balancing the rivalries (unless you pick your friends based on the teams they support…), you’re responsible for feeding and watering a few extra mouths that will almost certainly be shouting at the television – or the people in the room – at one point or another. That said, I honestly can’t think of more fulfilling Sundays than the ones I spent with my friends in college.
We were one of a few houses that invested in cable: 2 of us couldn’t live without sports, 1 needed reality TV, 1 needed Spongebob, and the other just didn’t have the heart to make a fuss about it. Most of the time, people would show up around noon with a bag of chips, some salsa, and a stack of textbooks. Occasionally, we splurged and bought some beer. More often than not the textbooks would sit open on our laps but went completely unread; we chatted during the commercials, insulted one another, and cursed at our teams for hours on end. We’d usually pull together some form of dinner before the last game started and our friends started to trickle back to their own apartments. We weren’t always well-fed, but we always had fun. So, I dedicate this season to my former football crew. To honor our good times, I’ll be writing a gameday snack recipe every week throughout the entirety of the season. Enjoy!
Week 1: Spinach and Roast Chicken Lasagna Cups
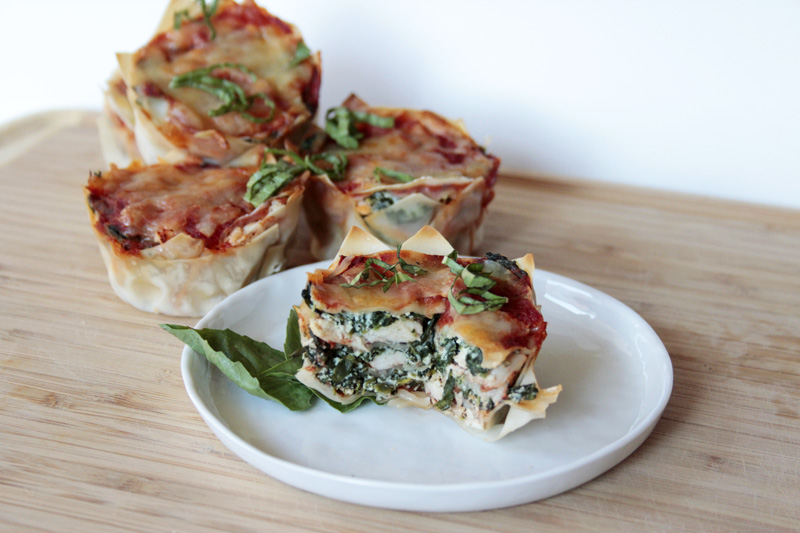
Week 1: Spinach and Roast Chicken Lasagna Cups
So we all agree that lasagna is amazing, right? Cheesy, meaty, gooey goodness.. mmm… But to be honest… I can only stomach a few bites of lasagna loaded with XXXXtra cheese and sausage, especially after a day of snacking on chips and guac. Cue the lighter lasagna: I gave it a serious spinach kick and swapped the heavier sausage for always light chicken breast. I also love how budget friendly this is: I was able to buy everything I needed for under $20. Allocating 3 cups per person, I spent about $5 per plate. Not to shabby, if I do say so myself!
Week 1: Spinach and Roast Chicken Lasagna Cups
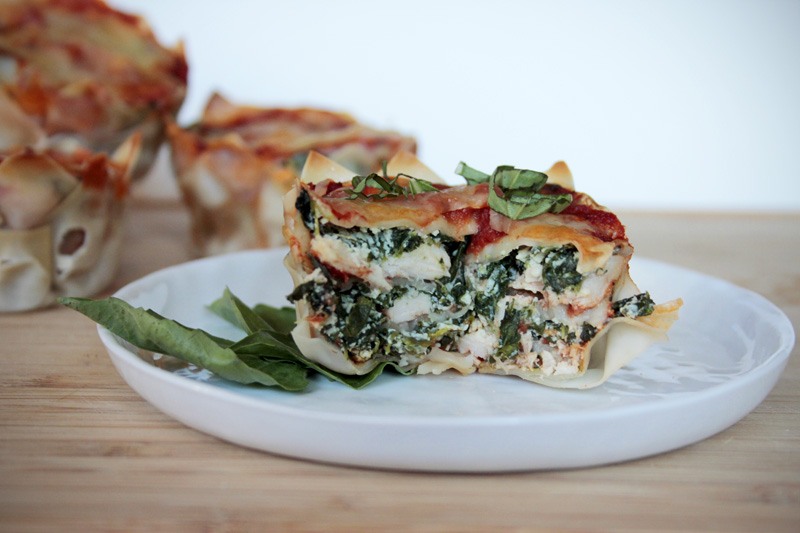
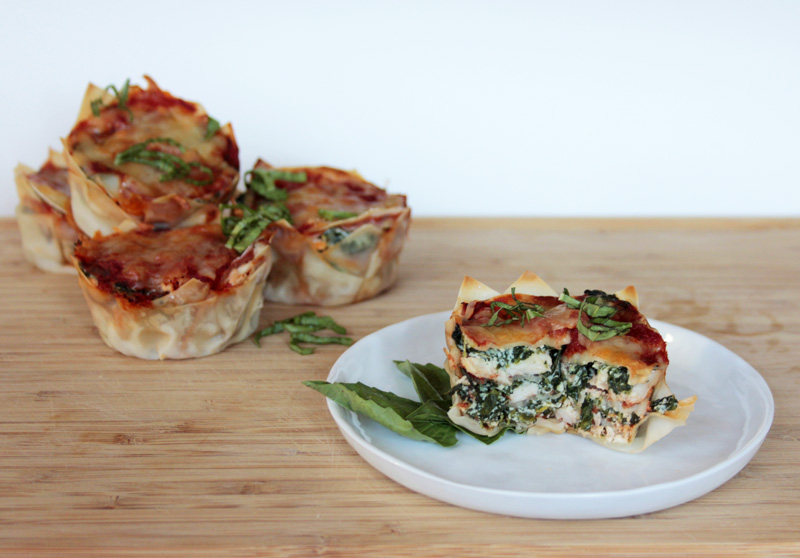
Look at those delicious layers. I didn’t put quite enough marinara into that particular cup, so definitely expect to see more red when you cut into yours. However, it’s important to note that these lasagna cups are drier than a traditional lasagna so that they can be a handheld food without the risk of collapse after the first bite.
Week 1: Spinach and Roast Chicken Lasagna Cups
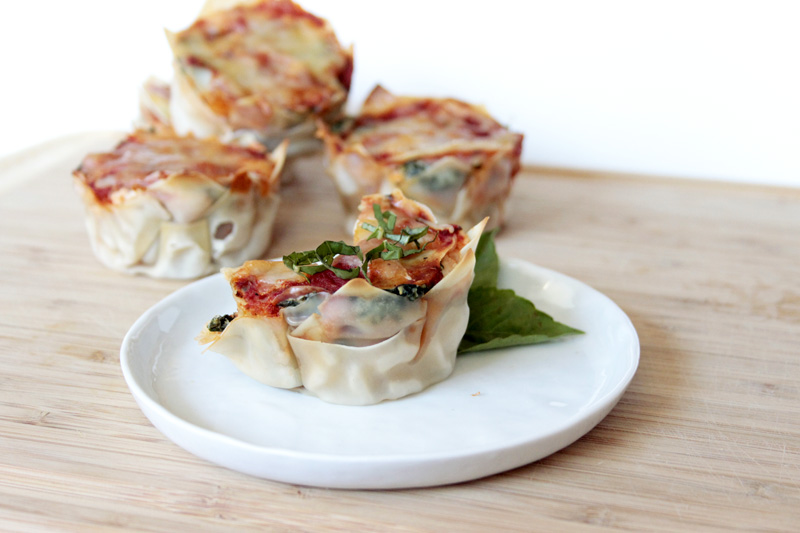
The secret to keeping this easy is won ton wrappers. Yes, I’m serious. The won ton wrappers are thin and small, which makes them ideal for stuffing into muffin tins. I layer two on the bottom layer and two on top layer, but use just one in between all of the other layers. As you can probably see from the photo above, I offset the two bottom won ton wrappers so that the entirety of the muffin tin well is (mostly) covered by the won ton wrapper. For the middle layers, I do like to use a 1 1/2 inch ring mold to cut small circles out of the won ton wrappers. I’m usually able to get 2 circles per won ton wrapper; 1 pack of wrappers gets me 2 trays of lasagna cups.
Week 1: Spinach and Roast Chicken Lasagna Cups
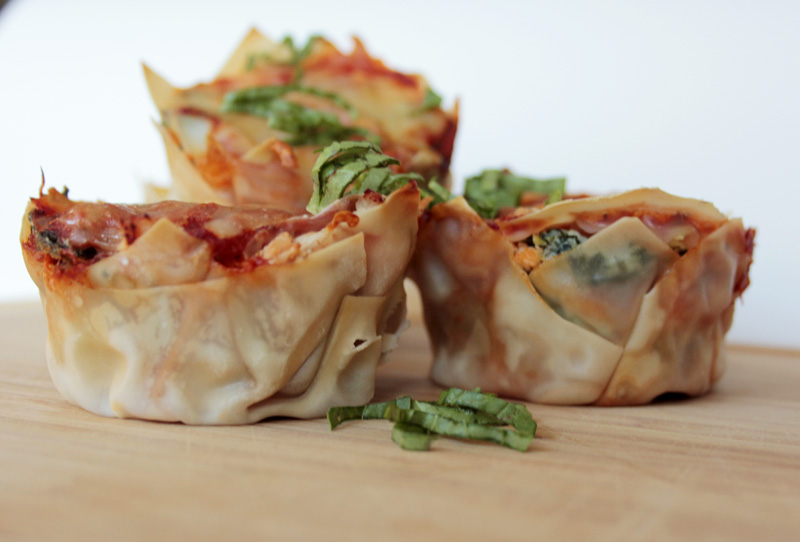
Finishing the cups with a quick chiffonade of fresh basil is essential. The fresh, earthy scent and flavor of the basil really helps bring the flavors inside the lasagna cups together. If you really can’t find fresh basil, you can skip it, but just be aware that you’re missing a critical ingredient here.
Week 1: Spinach and Roast Chicken Lasagna Cups
ingredients
- 1 package thin won ton wrappers
- 2 C shredded chicken
- 1 box frozen spinach
- 3/4 C ricotta
- 3/4 tsp salt
- 1/2 tsp greshly ground black pepper
- 2 1/2 C marinara
- 1/2 C shredded mozzarella
- 2 TBSP basil
instructions
- Mise en place!
- Microwave spinach just until thawed (about 2 minutes in my microwave)
- Drain spinach over a bowl either by transferring it to a clean dish towel and squeezing or by squeezing handfuls in a sieve.
- Reserve 2 TBSP of the drained spinach water and discard the rest
- Mix spinach, spinach water, ricotta, salt, and pepper until fully combined
- Spray the wells of one muffin tin with nonstick spray, and line with 2 won ton wrappers. The best way to do this is to take 2 won ton wrappers, offset the corners, then gently press into the well, making sure to press the wrappers against the side.
- Layer marinara first, then chicken, then spinach and ricotta mixture. Make sure each layer is evenly spread so that you get each flavor in every bite.
- Follow with won ton circle and repeat layering until the wells are full. You should get three layers.
- Use 2 won ton circles on the top layer, then spread a bit of marinara over the top.
- Sprinkle mozzarella over the top. You can wrap and refrigerate overnight if you're making this ahead, or bake immediately.
- Bake at 375 for 20-30 minutes, or until the cheese is bubbling and delicious looking
- Chiffonade the basil and sprinkle over the lasagna cups
- Eat and enjoy!
Notes
Use a small offset spatula or a plastic knife to loosen the lasagna cups from the tin, if necessary. If you can't find won ton wrappers (in the refrigerator section of a well-stocked market or in an asian market), you can use fresh lasagna noodles or par boiled dry lasagna noodles, but I really think the won ton wrappers work best!