


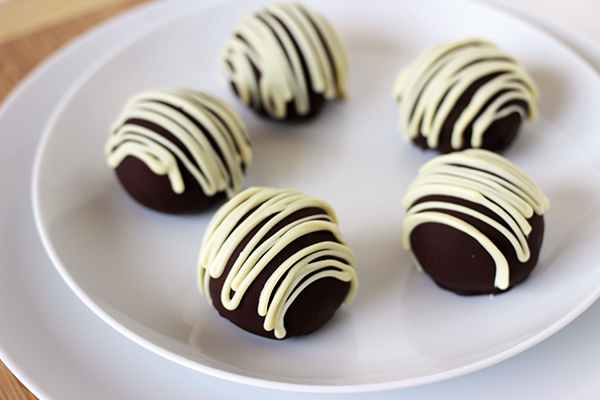
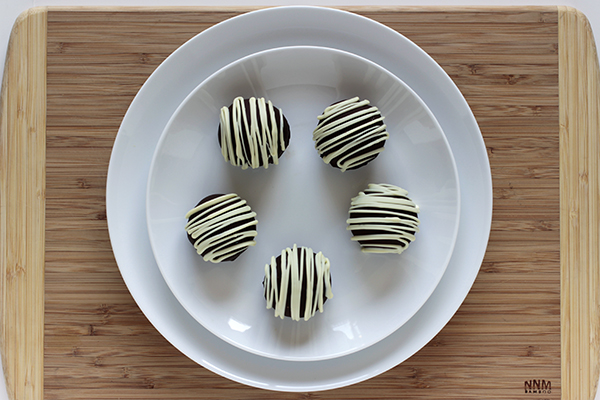
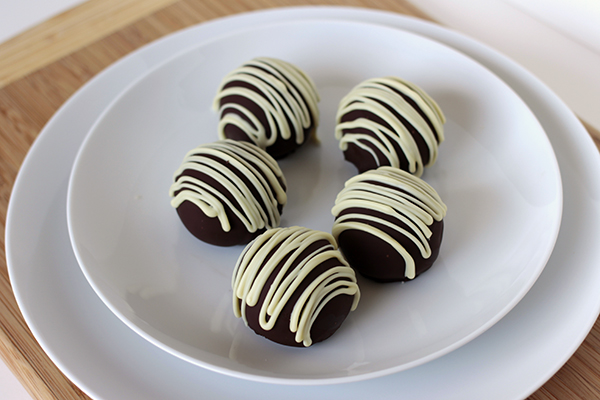
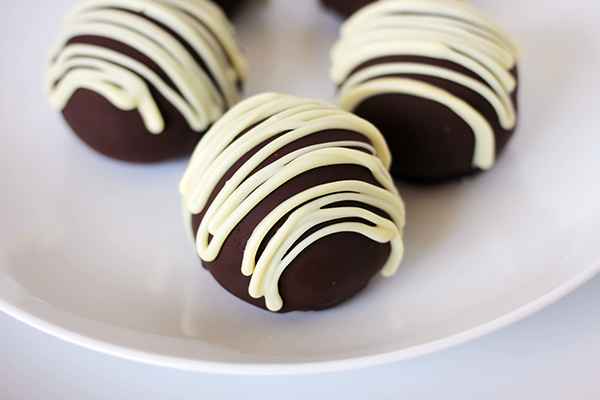
 Cake pops have been on my list of things to make forever, but since they’re a much more involved process than a simple layer cake or cupcakes, they always get de-prioritized… until now! I thought I had wooden dowels at home but when I went to coat my cake balls, I realized I didn’t – hence, truffles. I actually loved the way these turned out because they looked like gourmet chocolates that you’d bring over to a dinner party!
I wanted to make sure that the cake pops tasted balanced and not overly sweet, so I used a dark chocolate cream cheese frosting instead of a dark chocolate buttercream. The tang of the cream cheese kept the cake pops at just the right sweetness level, as did the semisweet chocolate coating.
Another key to success was finding the right chocolate cake. A drier, sturdier cake needed way too much frosting to produce the right consistency of cake pop, which lead to a super sweet and sticky final product. I used my favorite moist chocolate cake recipe and was able to use less frosting to get the cake to hold together in little cake balls. I also used a disher (cookie scoop) to get identical cake pop portions. If you don’t have a small disher, use 2 TBSP or 1/8 cup to get the portion right – you’ll just have a little more work to do when shaping.
ingredients
- 1 3/4 cups all-purpose flour
- 2 cups sugar
- 3/4 cups good cocoa powder
- 2 teaspoons baking soda
- 1 teaspoon baking powder
- 1 teaspoon kosher salt
- 1 cup buttermilk, shaken
- 1/2 cup vegetable oil
- 2 extra-large eggs, at room temperature
- 1 teaspoon pure vanilla extract
- 1 cup freshly brewed hot coffee
- 4 oz unsalted butter, at room temperature
- 4 oz cream cheese, at room temperature
- 1 1/2 C powdered sugar
- 1/4 C dutch processed cocoa powder
- 24 oz semisweet chocolate chips
- 6 oz white chocolate
instructions
- In a large bowl, whisk together the flour, sugar, baking soda, baking powder, and salt. Set aside
- In a medium bowl, whisk together the coffee and the cocoa powder - this allows the cocoa to bloom and will intensify the chocolaty flavor
- Add the vegetable oil, buttermilk, eggs, and vanilla extract to the chocolate and coffee mixture and whisk to combine
- Slowly pour the wet mixture into the dry mixture and whisk until just combined
- Pour the batter into a sheet pan lined with parchment paper and sprayed lightly with cooking spray
- Bake at 350 for 25-30 minutes, until a toothpick inserted in the center of the cake comes out clean
- Let cool 20 minutes and then crumble the cake into a large bowl.
- Add the cream cheese and butter in the bowl of a stand mixer and beat on medium speed to combine
- Add the powdered sugar and cocoa powder to the bowl of the stand mixer and mix on low speed until the butter mixer takes in some of the powder, then increase the speed to medium and beat until light and fluffy
- Crumble the cooled cake into a large bowl
- Add the frosting and mix with a spatula to create one homogenous mixture - the cake should hold whatever shape you form it into
- Use 2 TBSPs or the equivalent size disher to portion out individual cake balls; roll with your hands to create a smooth and even ball
- Set on a parchment lined baking sheet and once all balls have been formed, freeze for 20 minutes. Freezing the cake balls before coating will help the chocolate coating set faster.
- Melt the semisweet chocolate in a large bowl set over a pot with 1 inch of simmering water - make sure that the water doesn't touch the bottom of the bowl or the chocolate could burn.
- Use a slotted spoon to dunk each cake ball in the melted chocolate, then hold it over the bowl and allow the excess to drip off. Use a second spoon to help transfer the cake ball to a parchment lined baking sheet and repeat until all cake balls are coated.
- Melt the white chocolate in a small bowl and transfer to a pastry bag fitted with a small round tip. Drizzle the cake pops with the white chocolate, then transfer to the refrigerator to let set for at least 20 minutes.
- Enjoy!
Notes
Cake recipe from Ina Garten
Looks so delicious. Perfection.
Thanks Eriq! xo
OHHH MYY GOODDD!! These look soo amazing! Please make me some! =]
xox,
Angelina
http://www.cablecarchic.com
Thanks Angelina! Will def keep some for you next time I make them 😉 Em has been begging for more so it probs won’t take too long for her to wear me down!
Looks delicious, but it is so much work!
But totally worth it 😉 Rolling and coating is what takes the longest and as a friend pointed out, this would be a pretty good use-up for leftover cake! Just mush it all together!
Beautiful and they look delicious!
♡ Courtney
http://www.byobeauty.com
Thanks, Courtney! I hope that you make and enjoy them